Digital prototyping for design
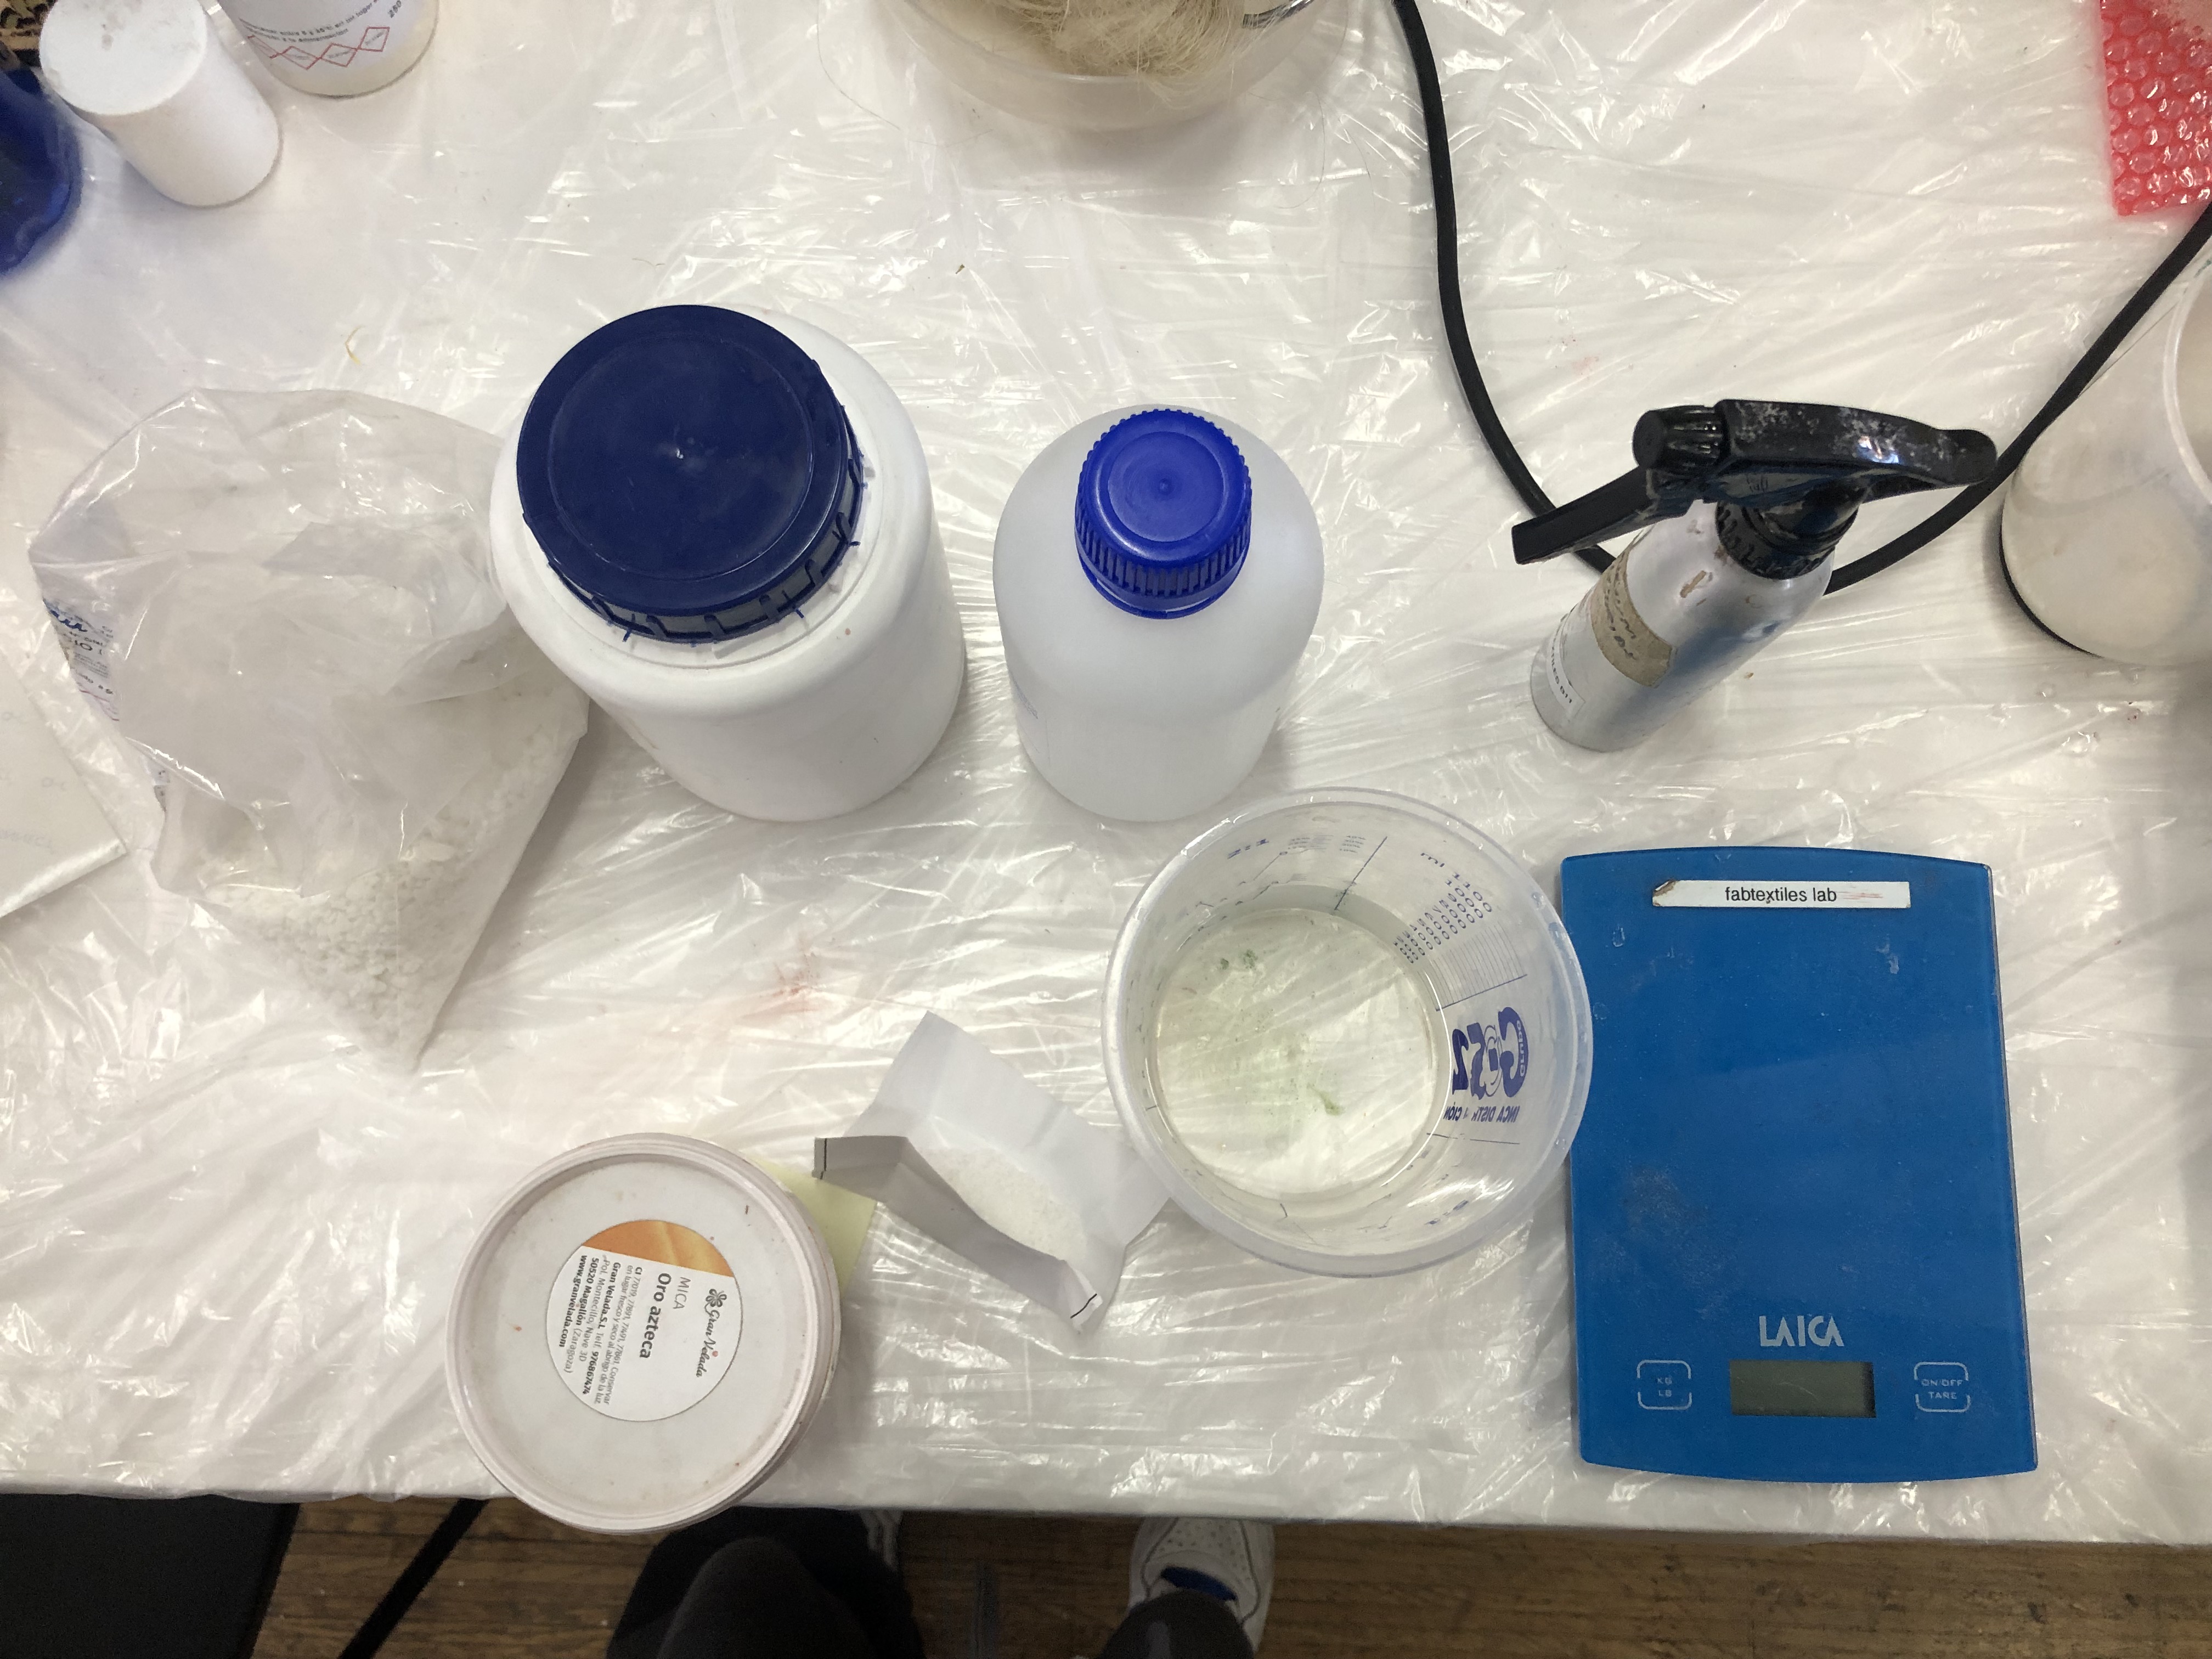
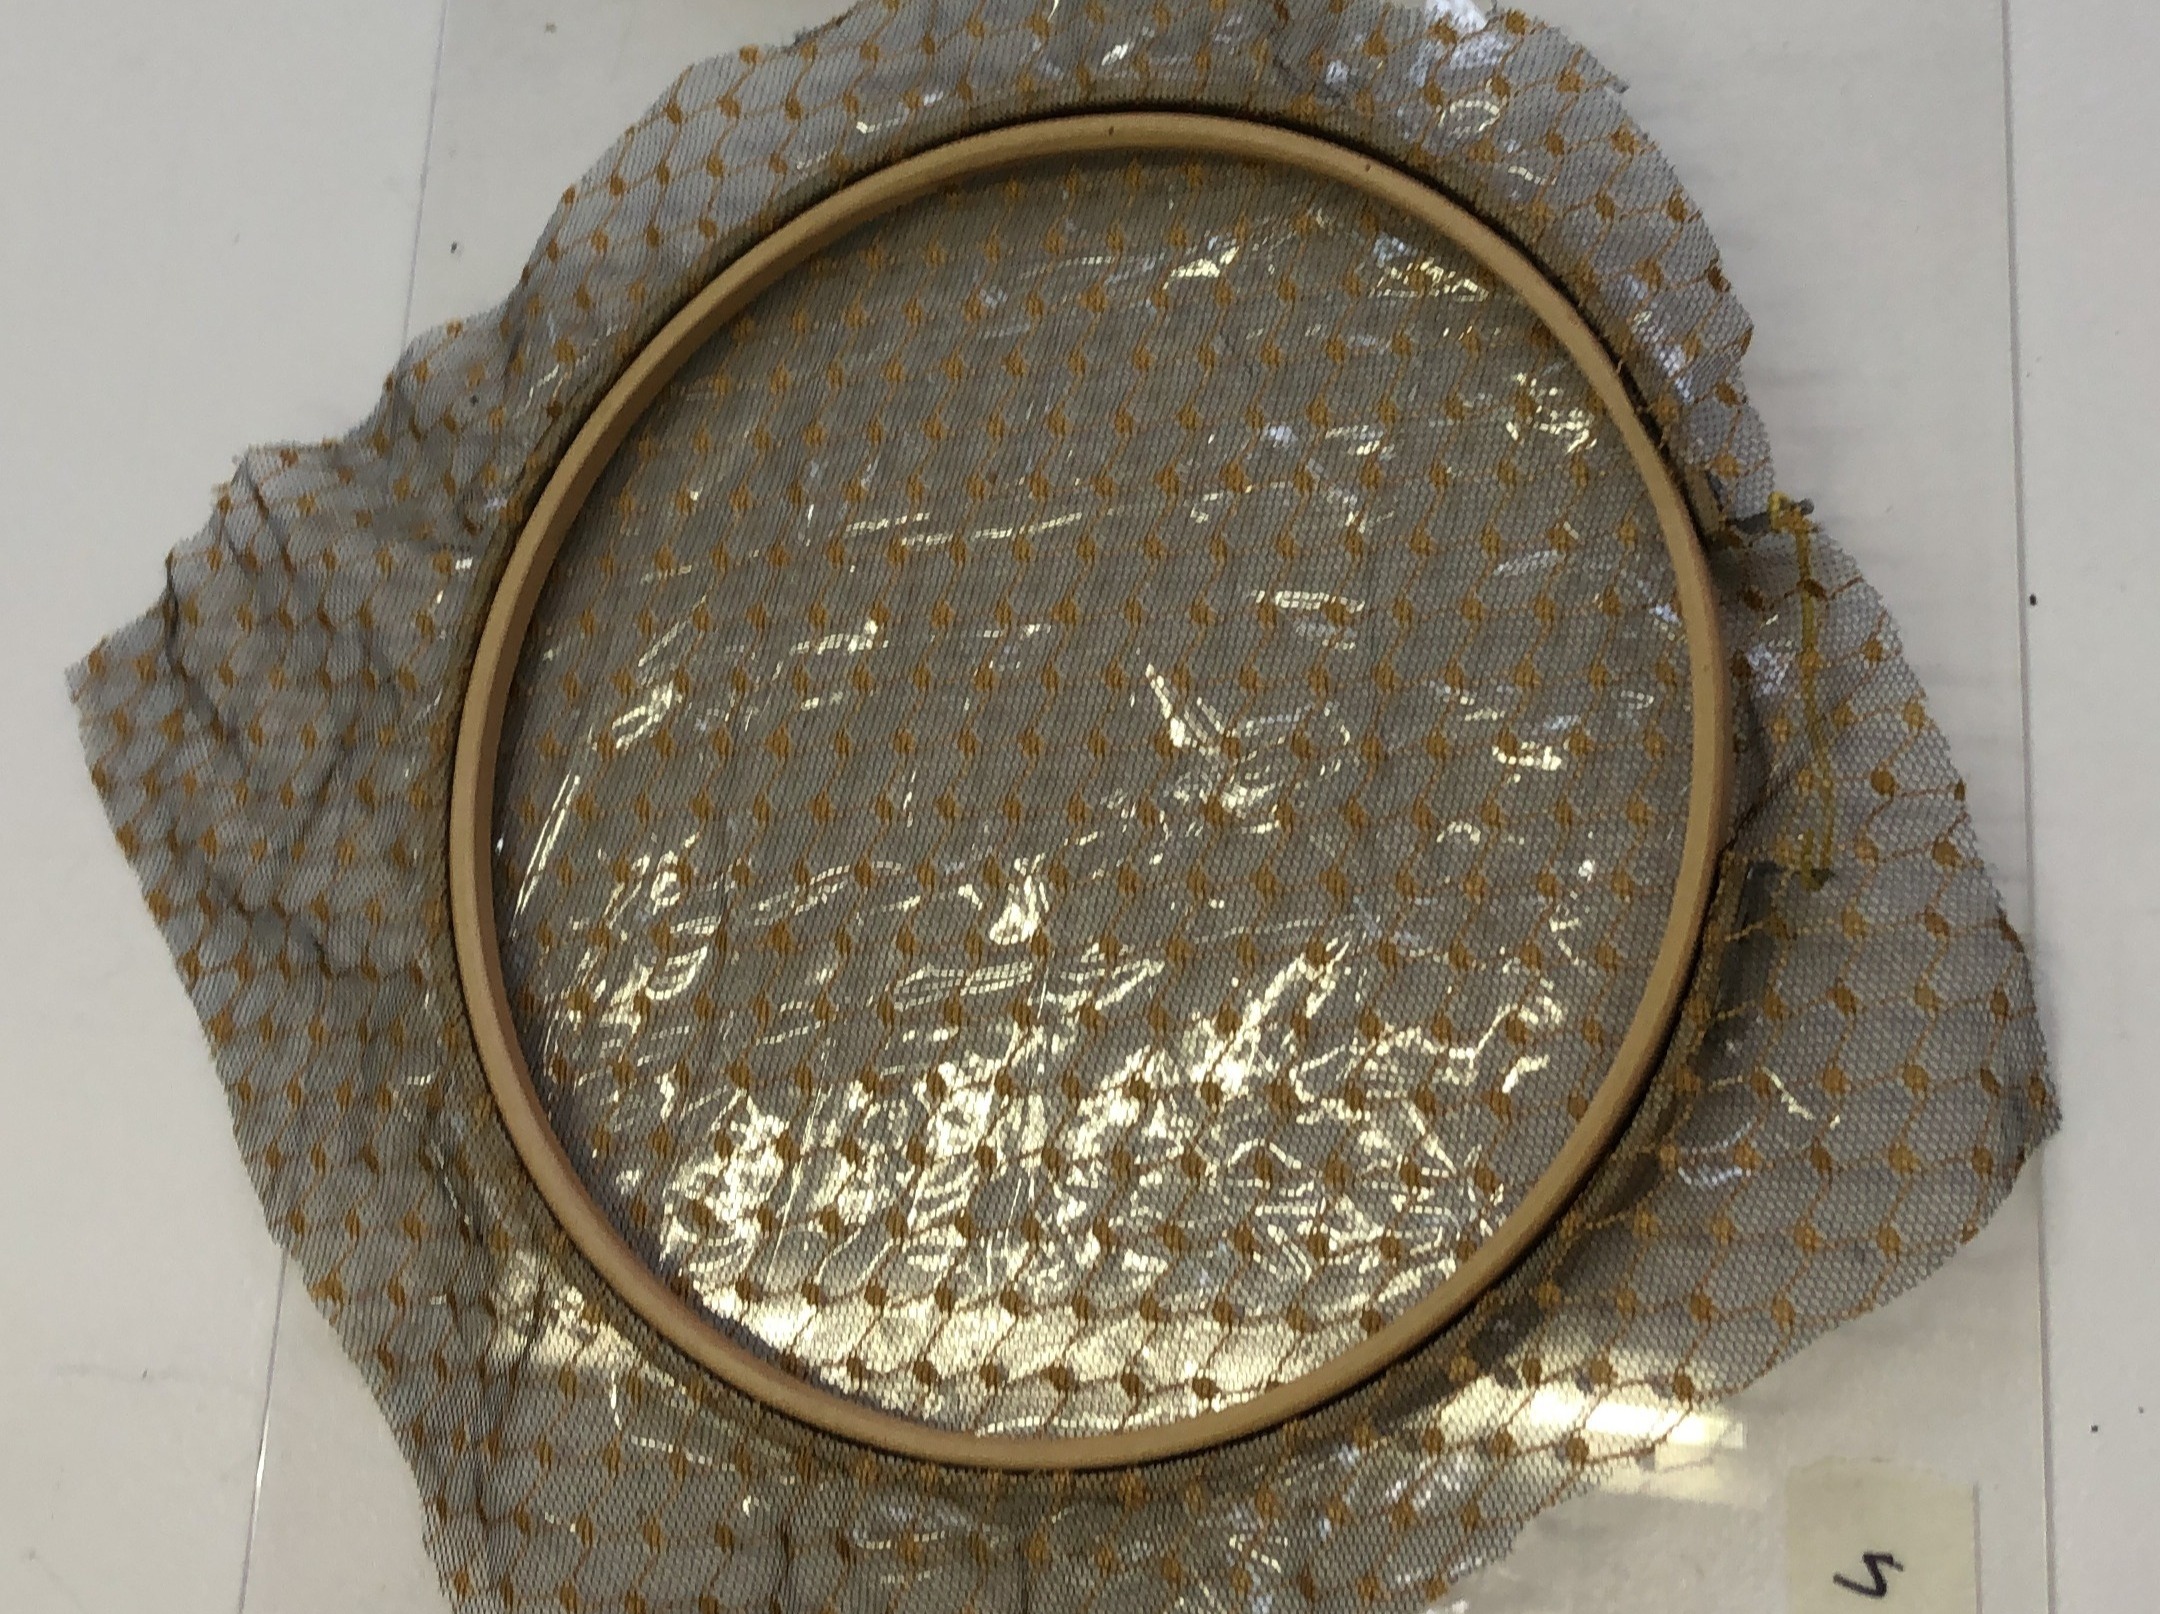
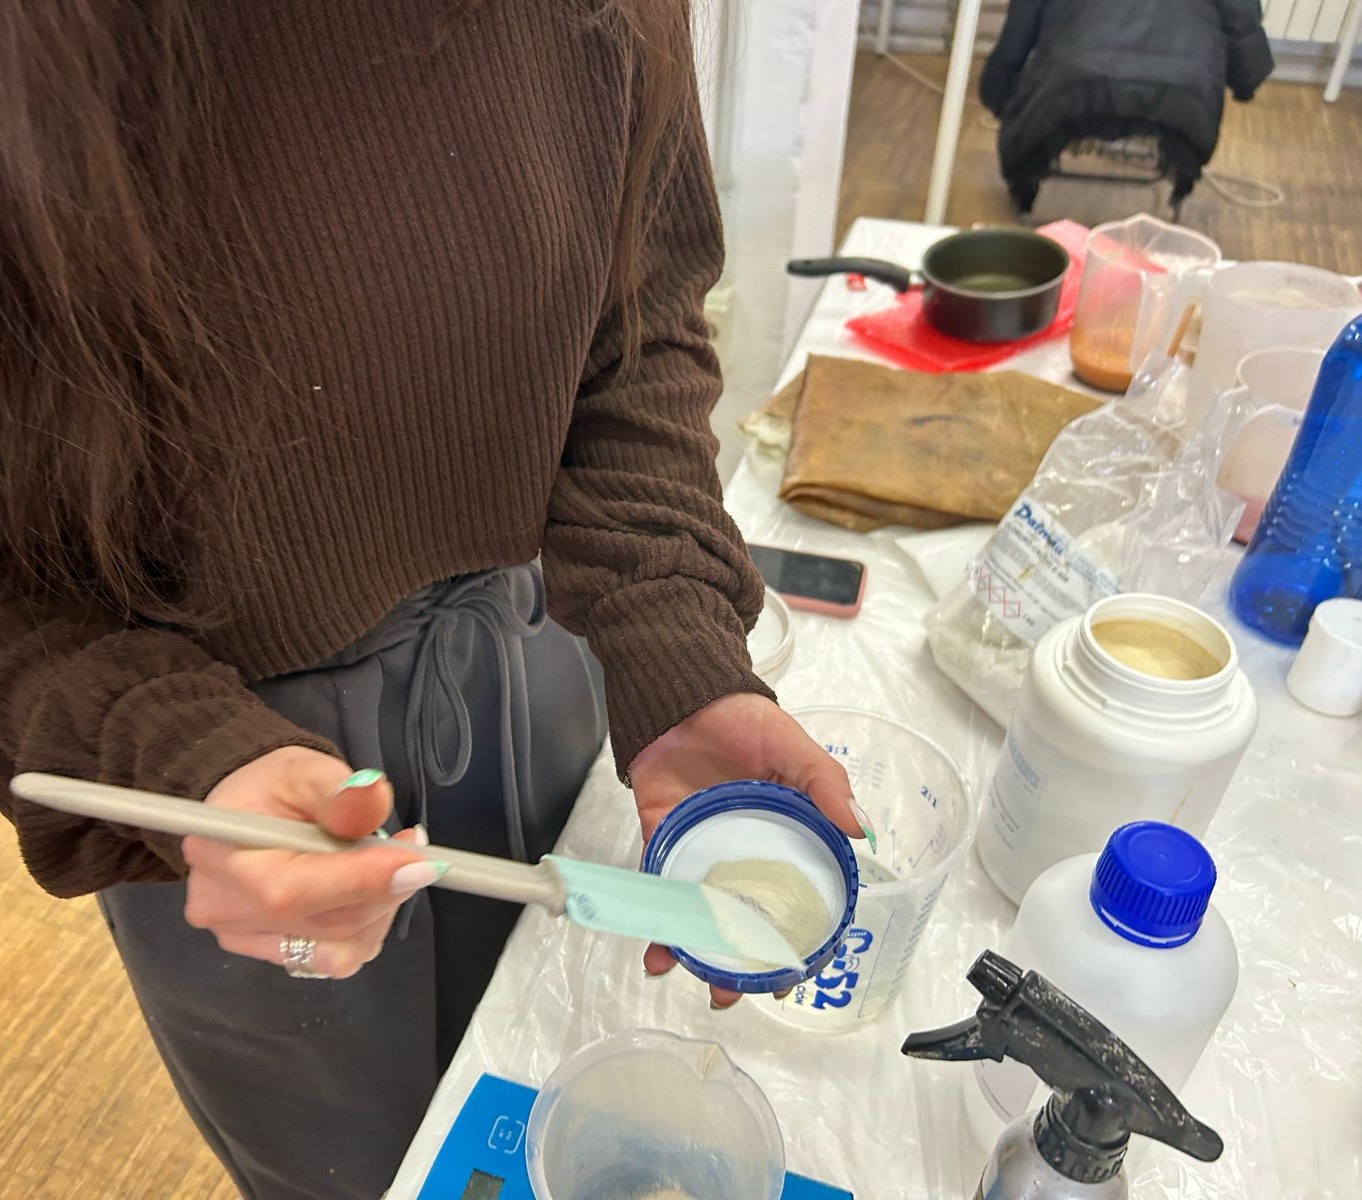
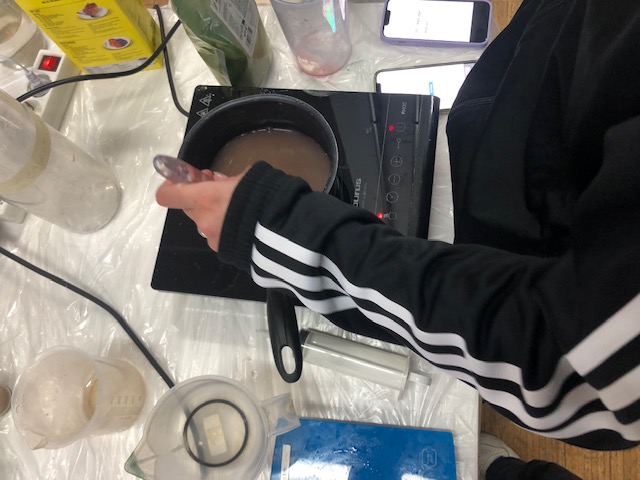
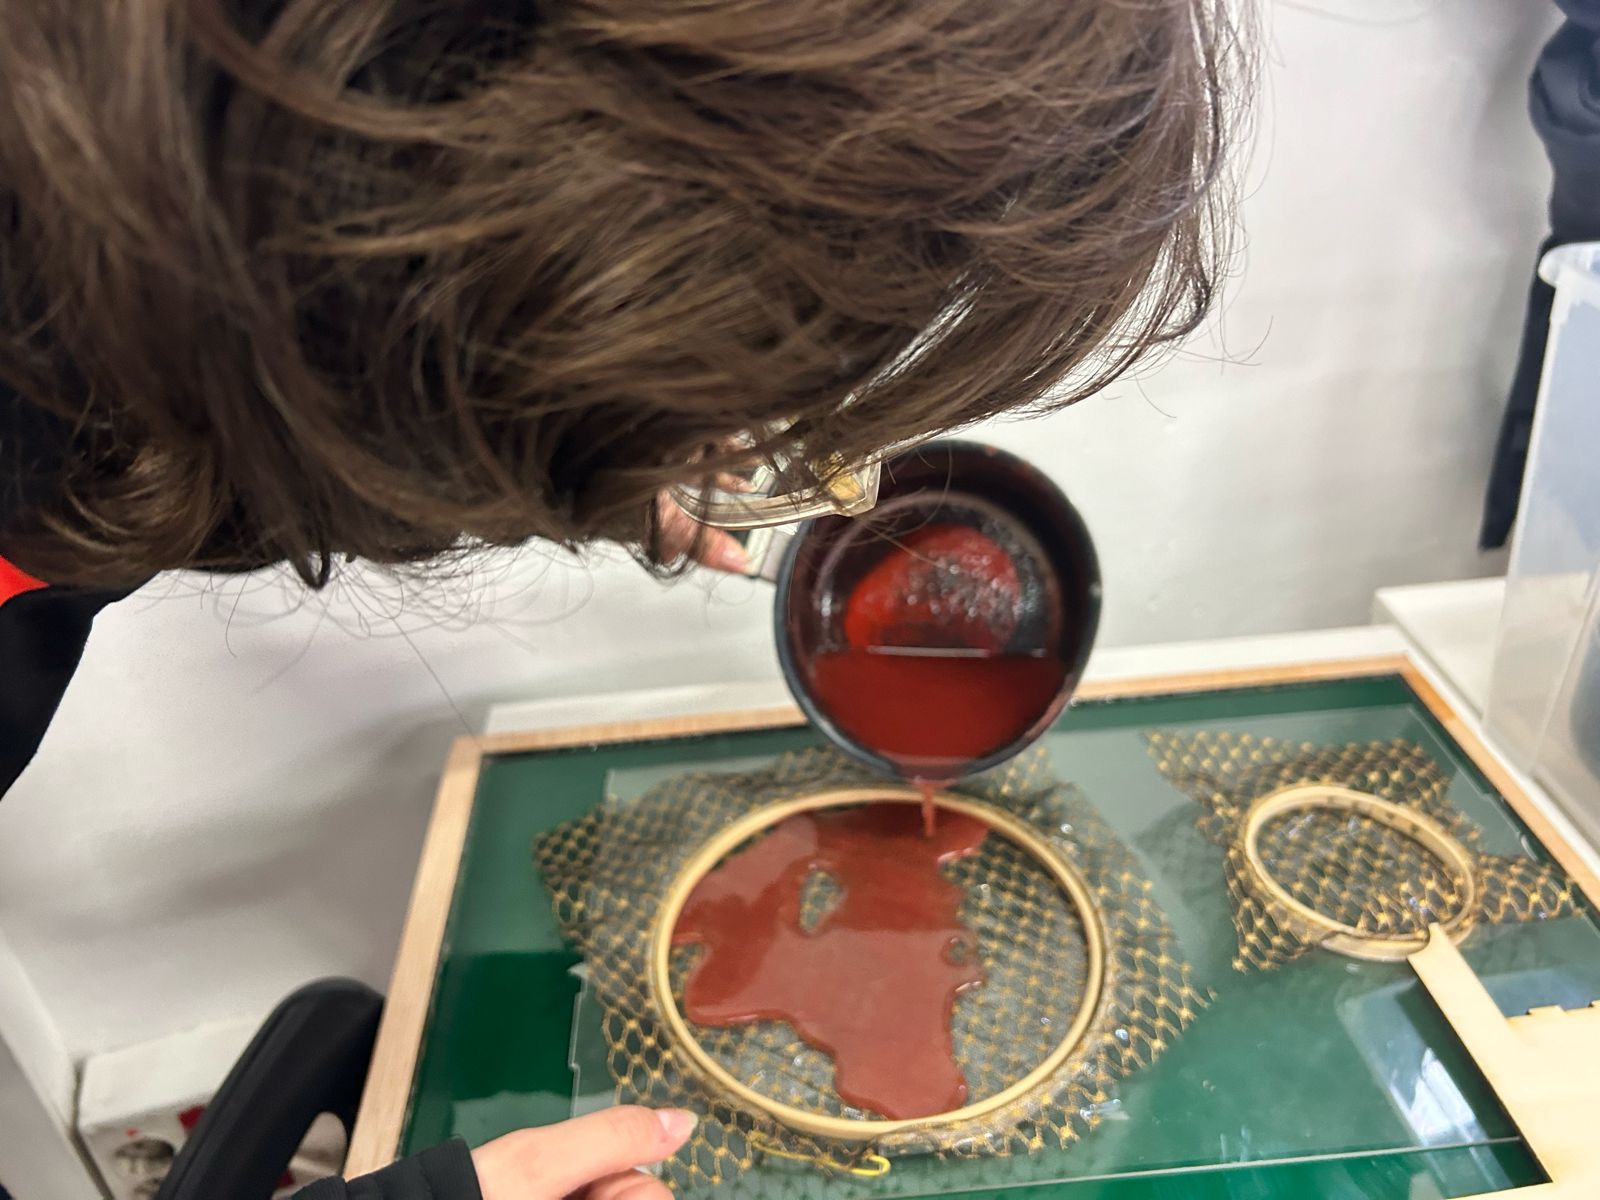
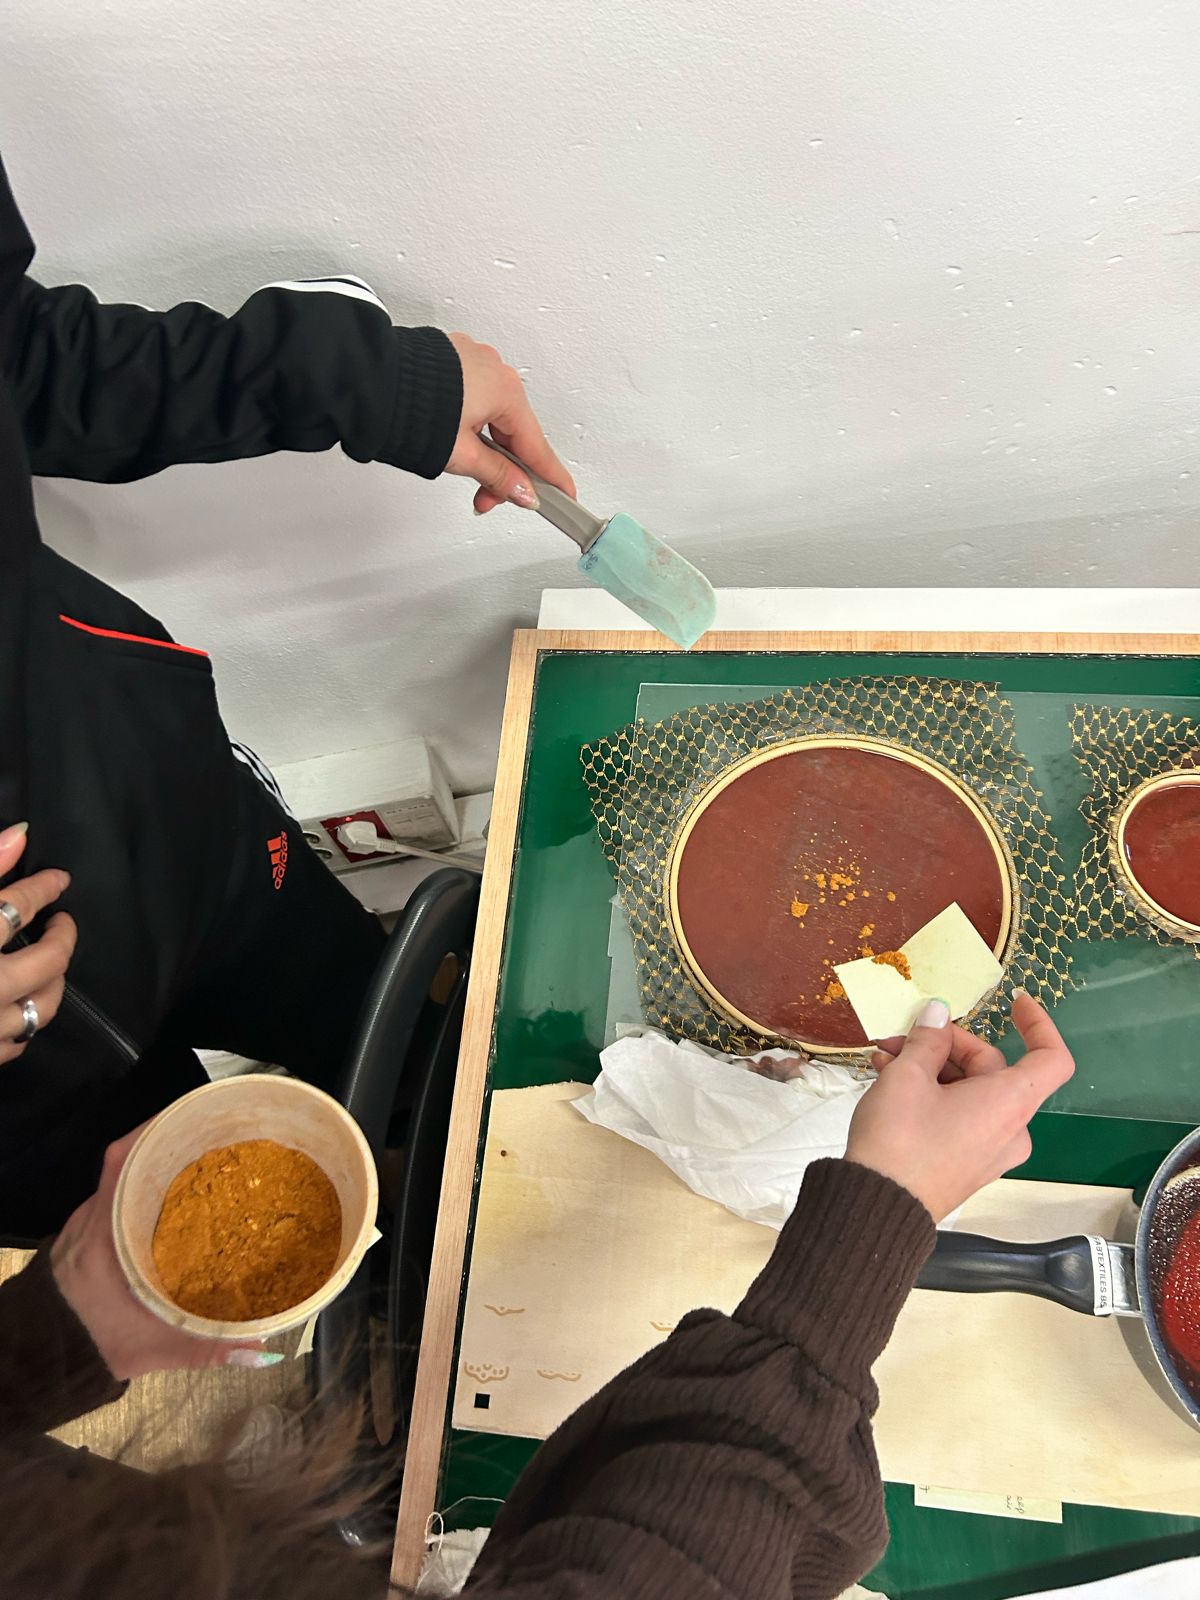
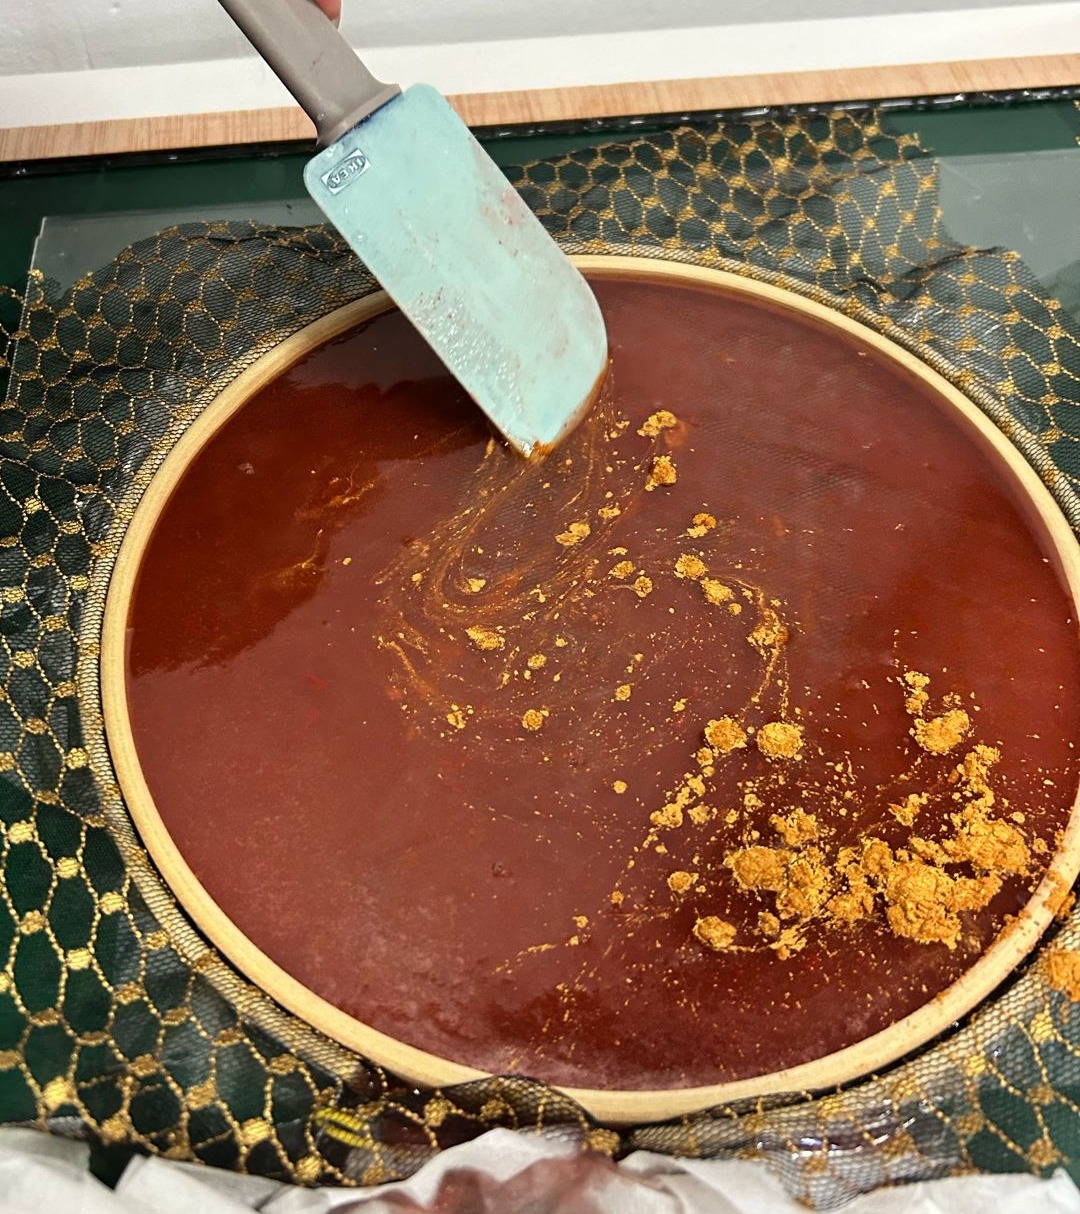
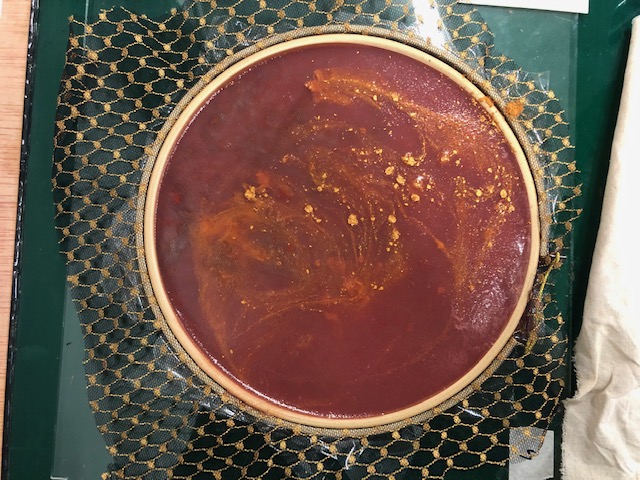
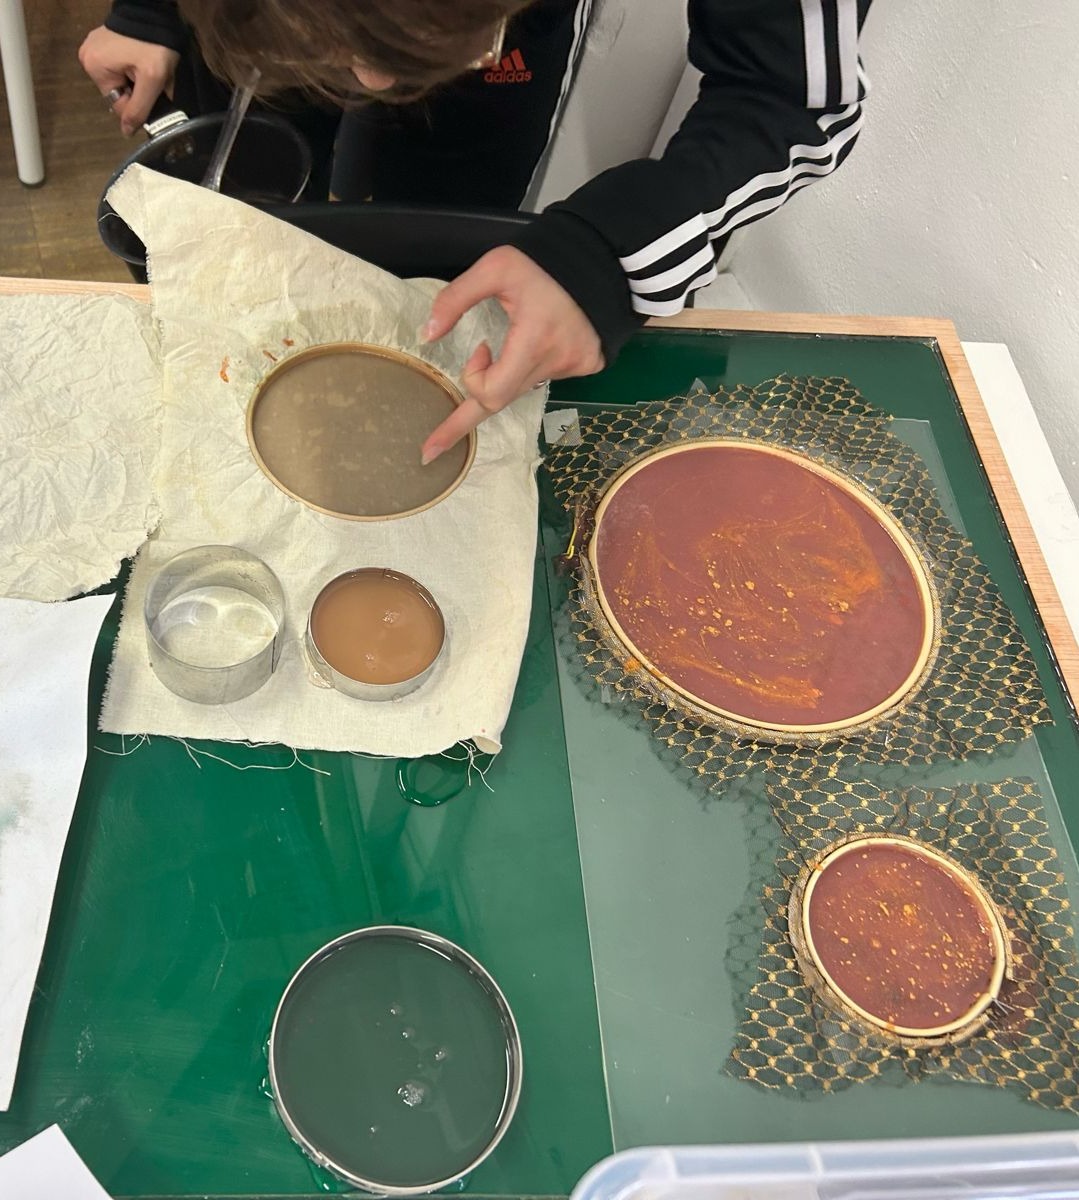
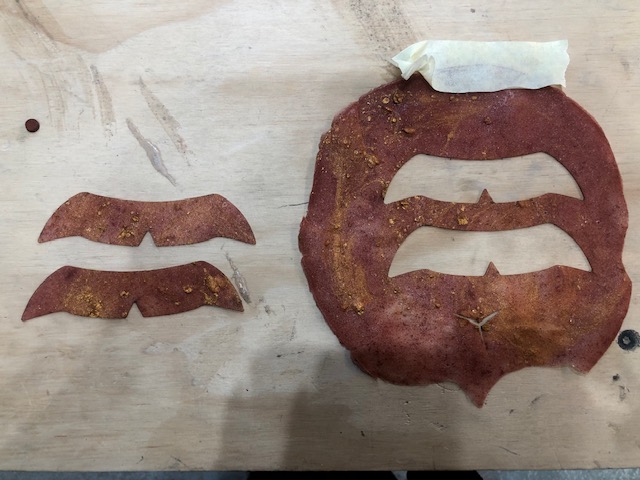
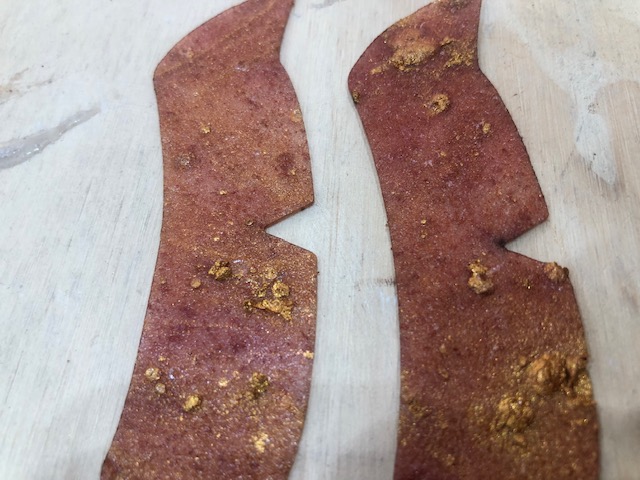
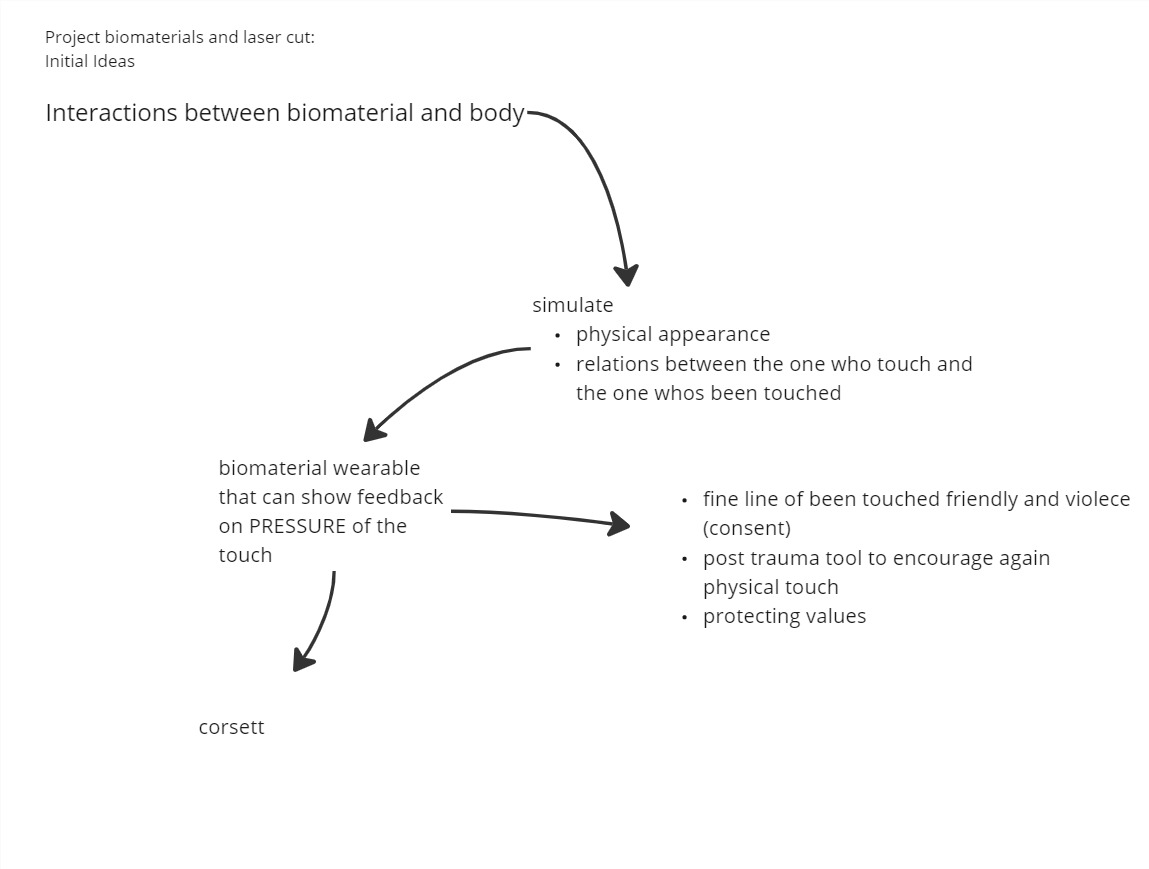
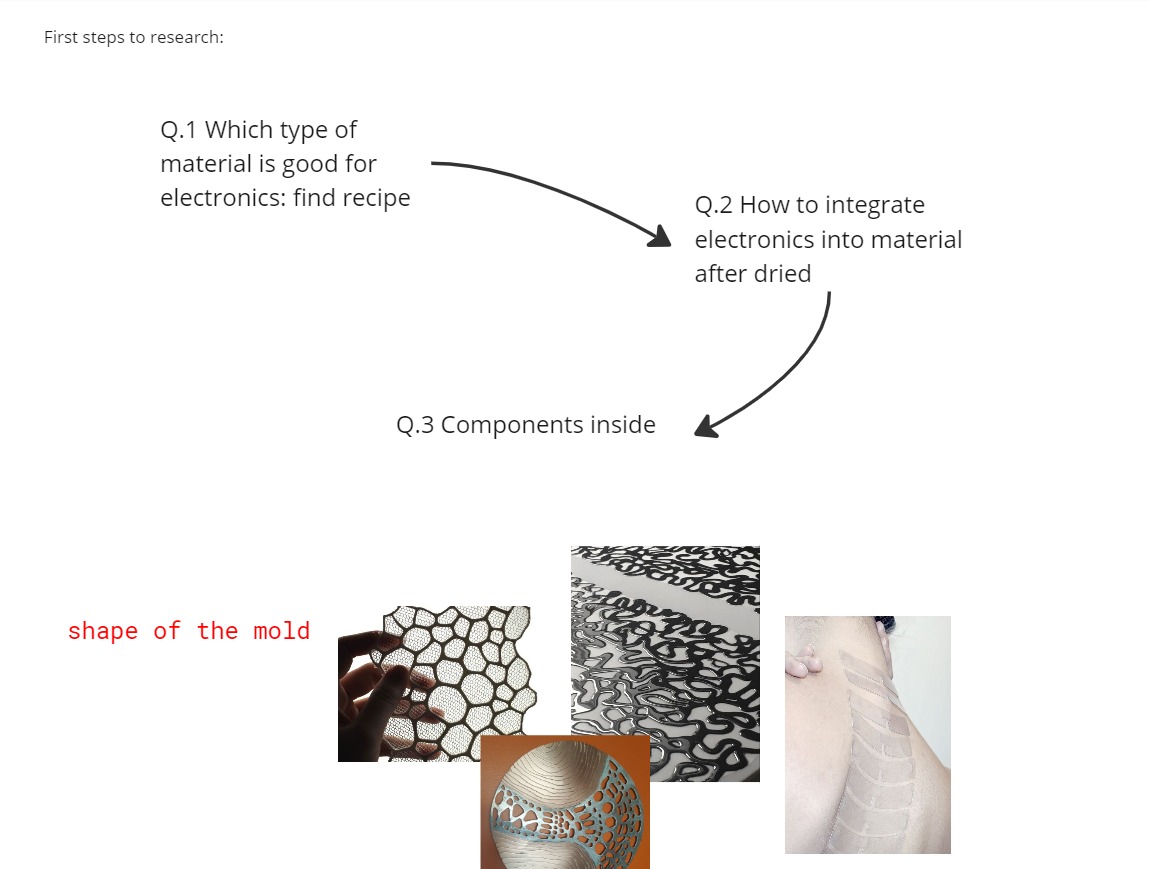
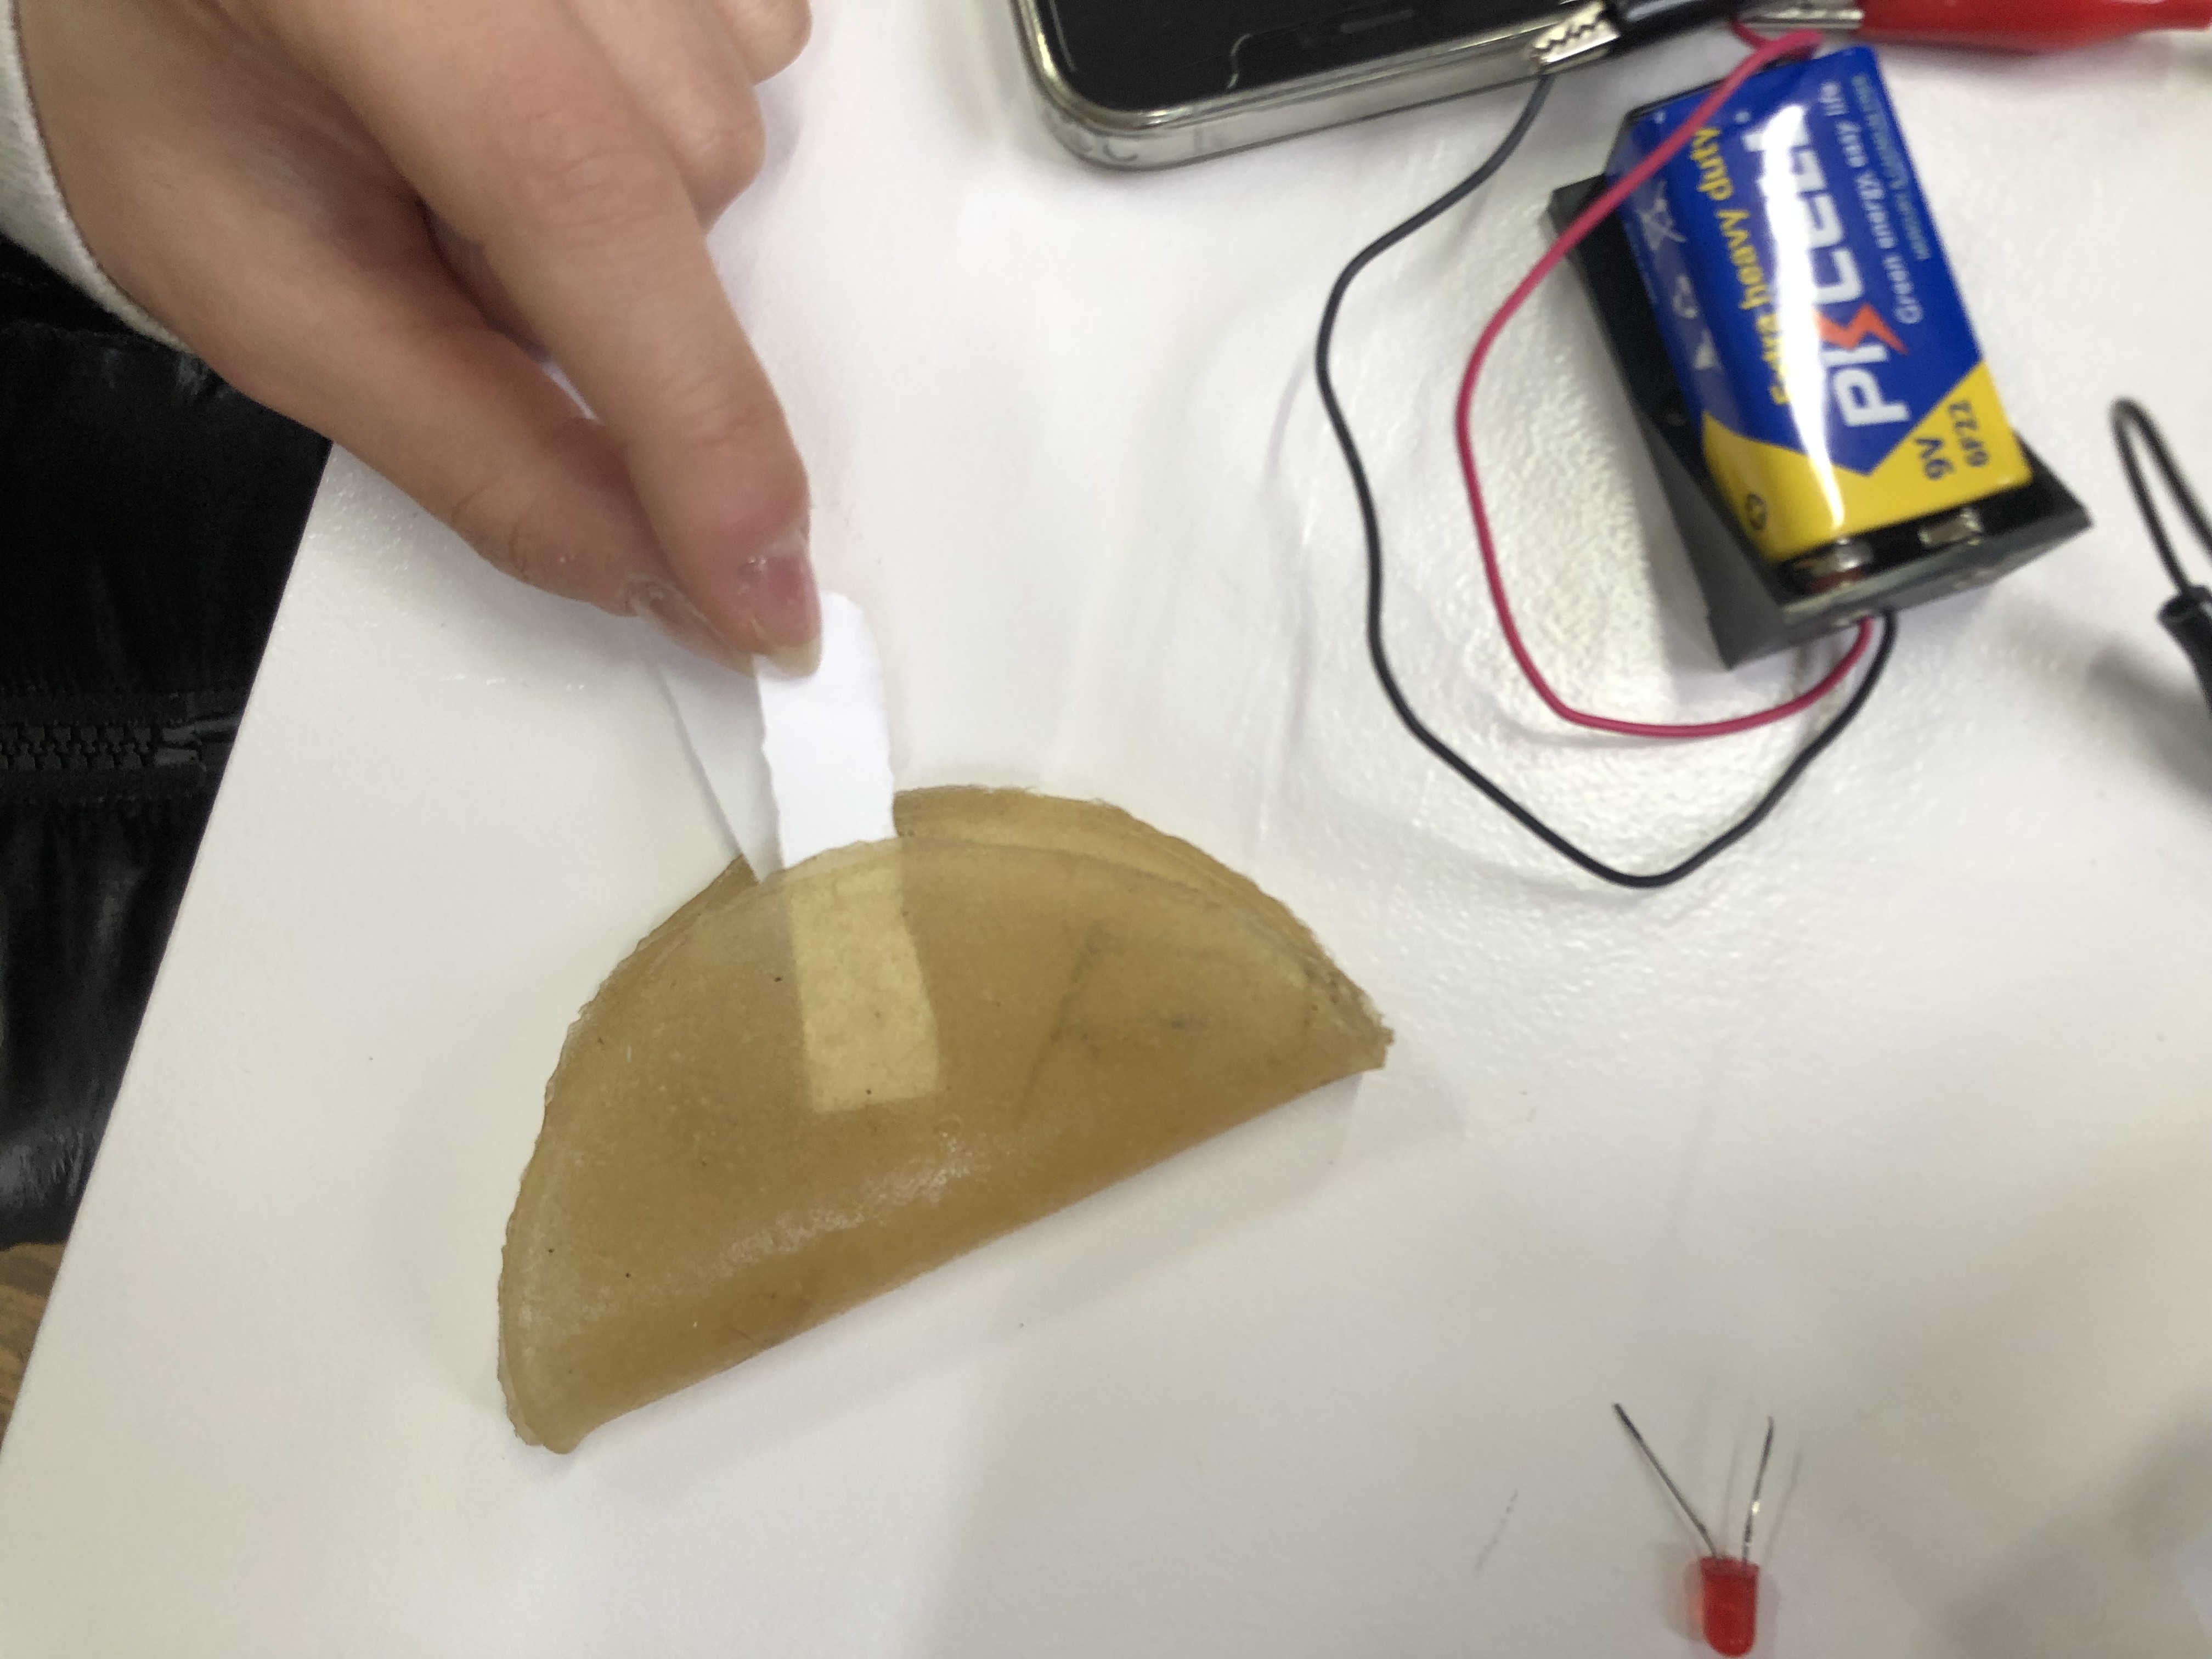
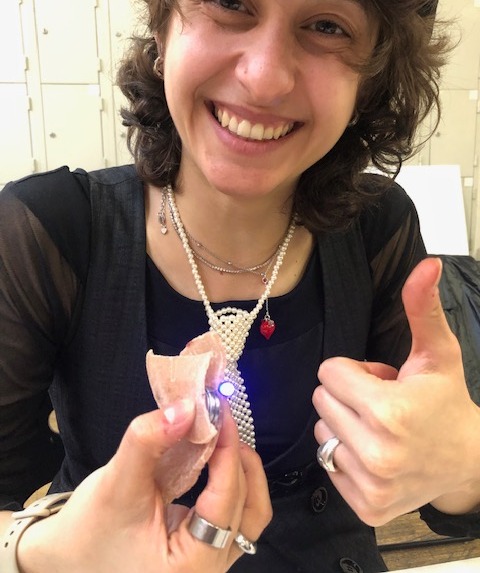
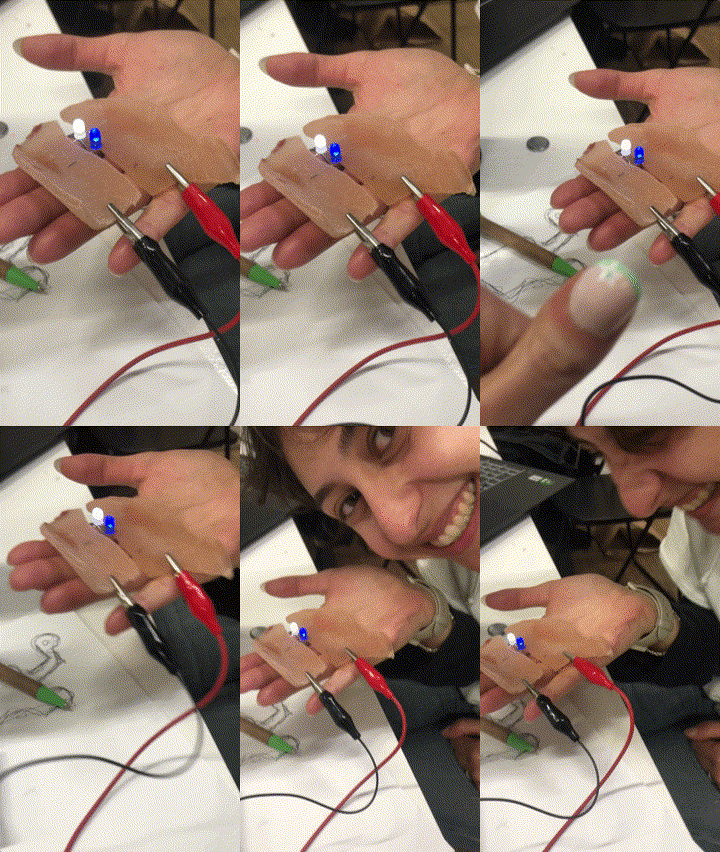
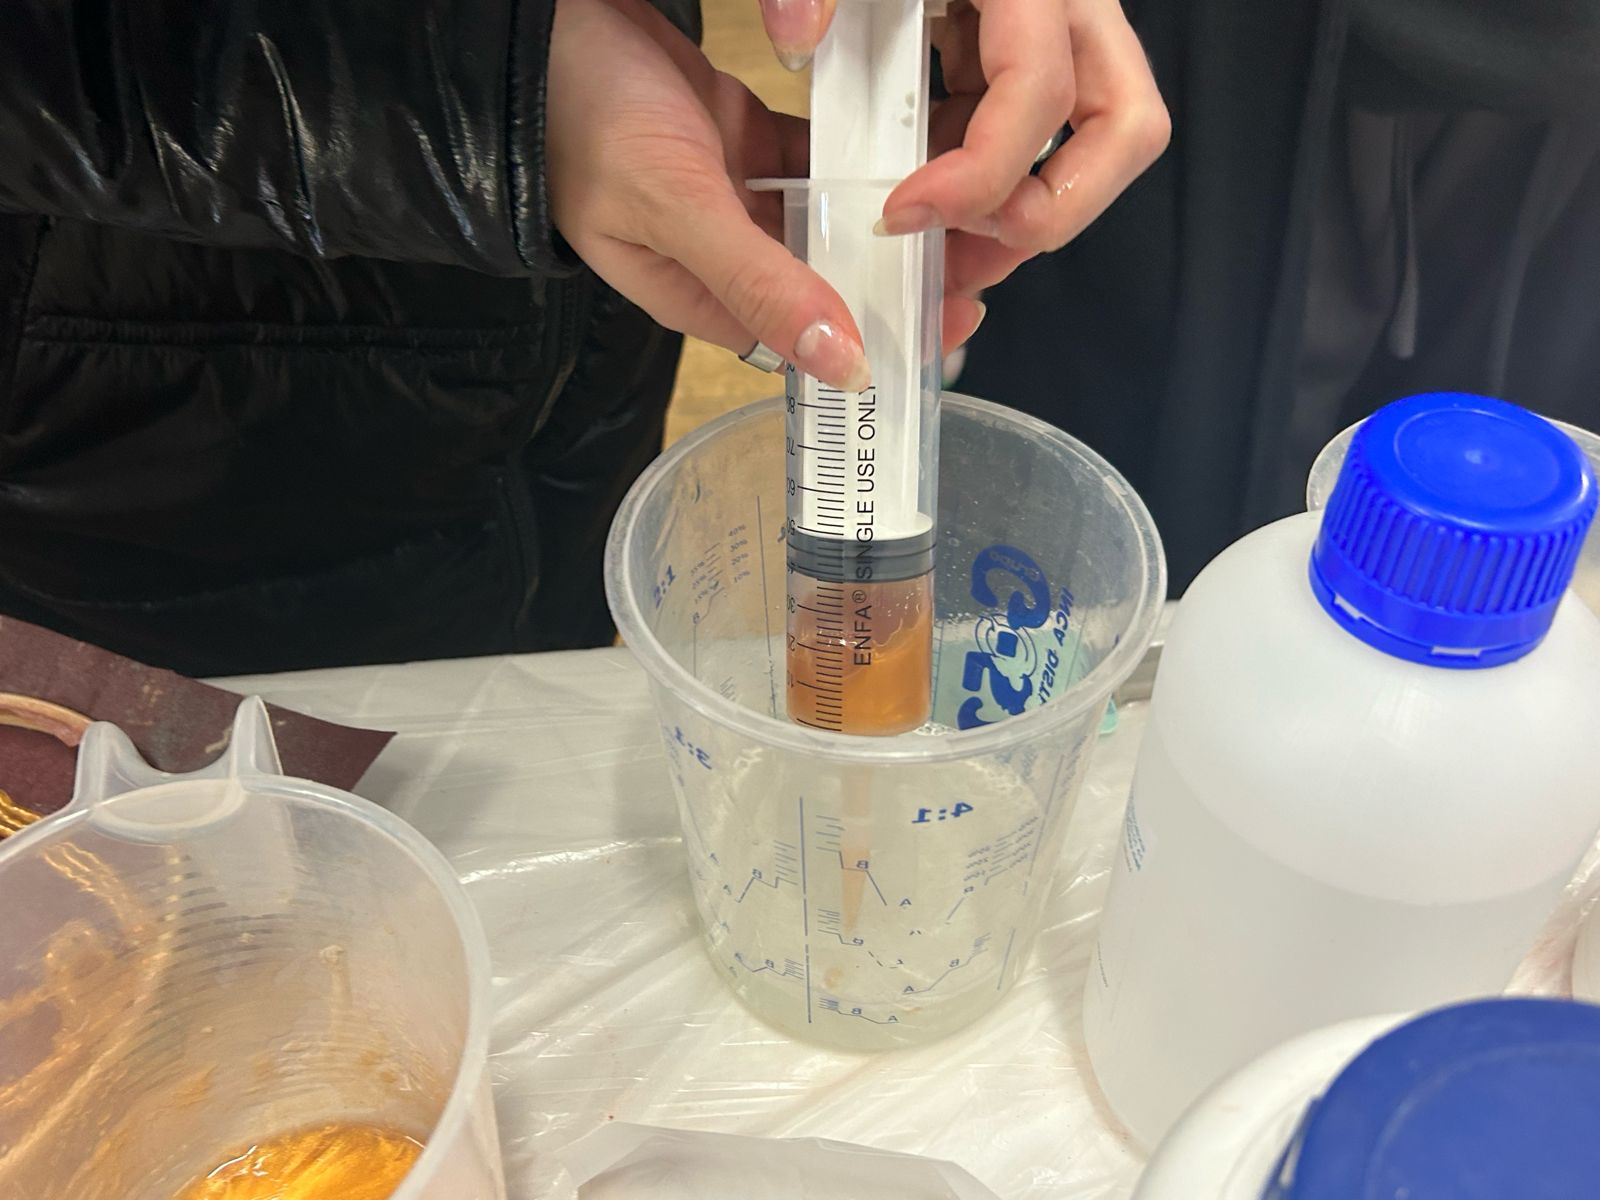
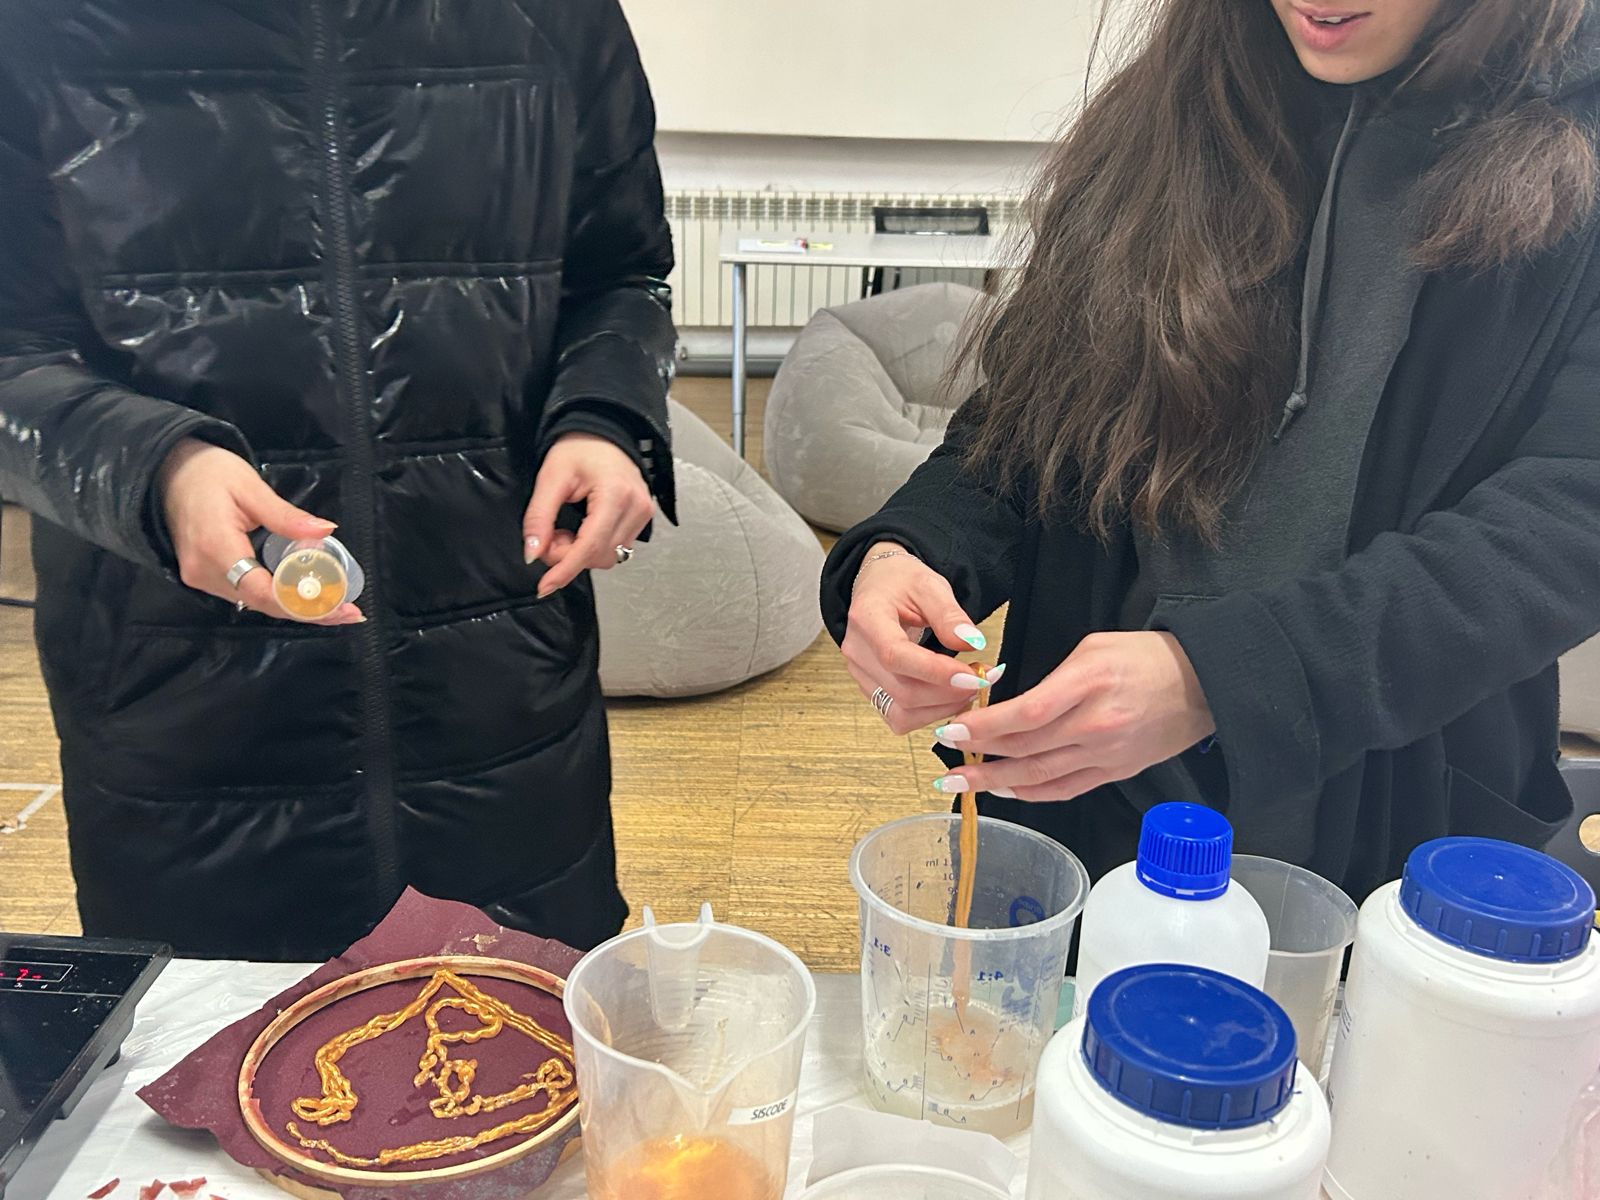
For our first exercise in the 'digital prototyping course', we had to learn to prototype with biomaterials and laser cut the biomaterials created. Through this exercise, I got to learn from a trial and error method and instinct. We were provided all the documents needed to be independent in the creation of the biomaterials, such as - recipes, don't dos and materials. The first struggle that I encountered in the first batch was that we didn't let the solution heat up enough and therefore had problems solidifying. The second batch had a tendency of shrinking a lot while drying, so it was hard to estimate the final size of the material. The third batch, in which we started incorporating salt, in the goal of making a conductible biomaterial, shrank and cracked, but was conductible. The fourth batch was done with 50g of salt and is still drying. The next step would be to perfect the conductible recipe so that it crack less, is more flexible and the salt is more blended through the material. Overall, we did many tests with Ana and found different ways to connect a circuit to the artifact. See Documentation below
Bio Materials experimentation
1. Recipe used for prototyping - first batch without salt
Water 300ml
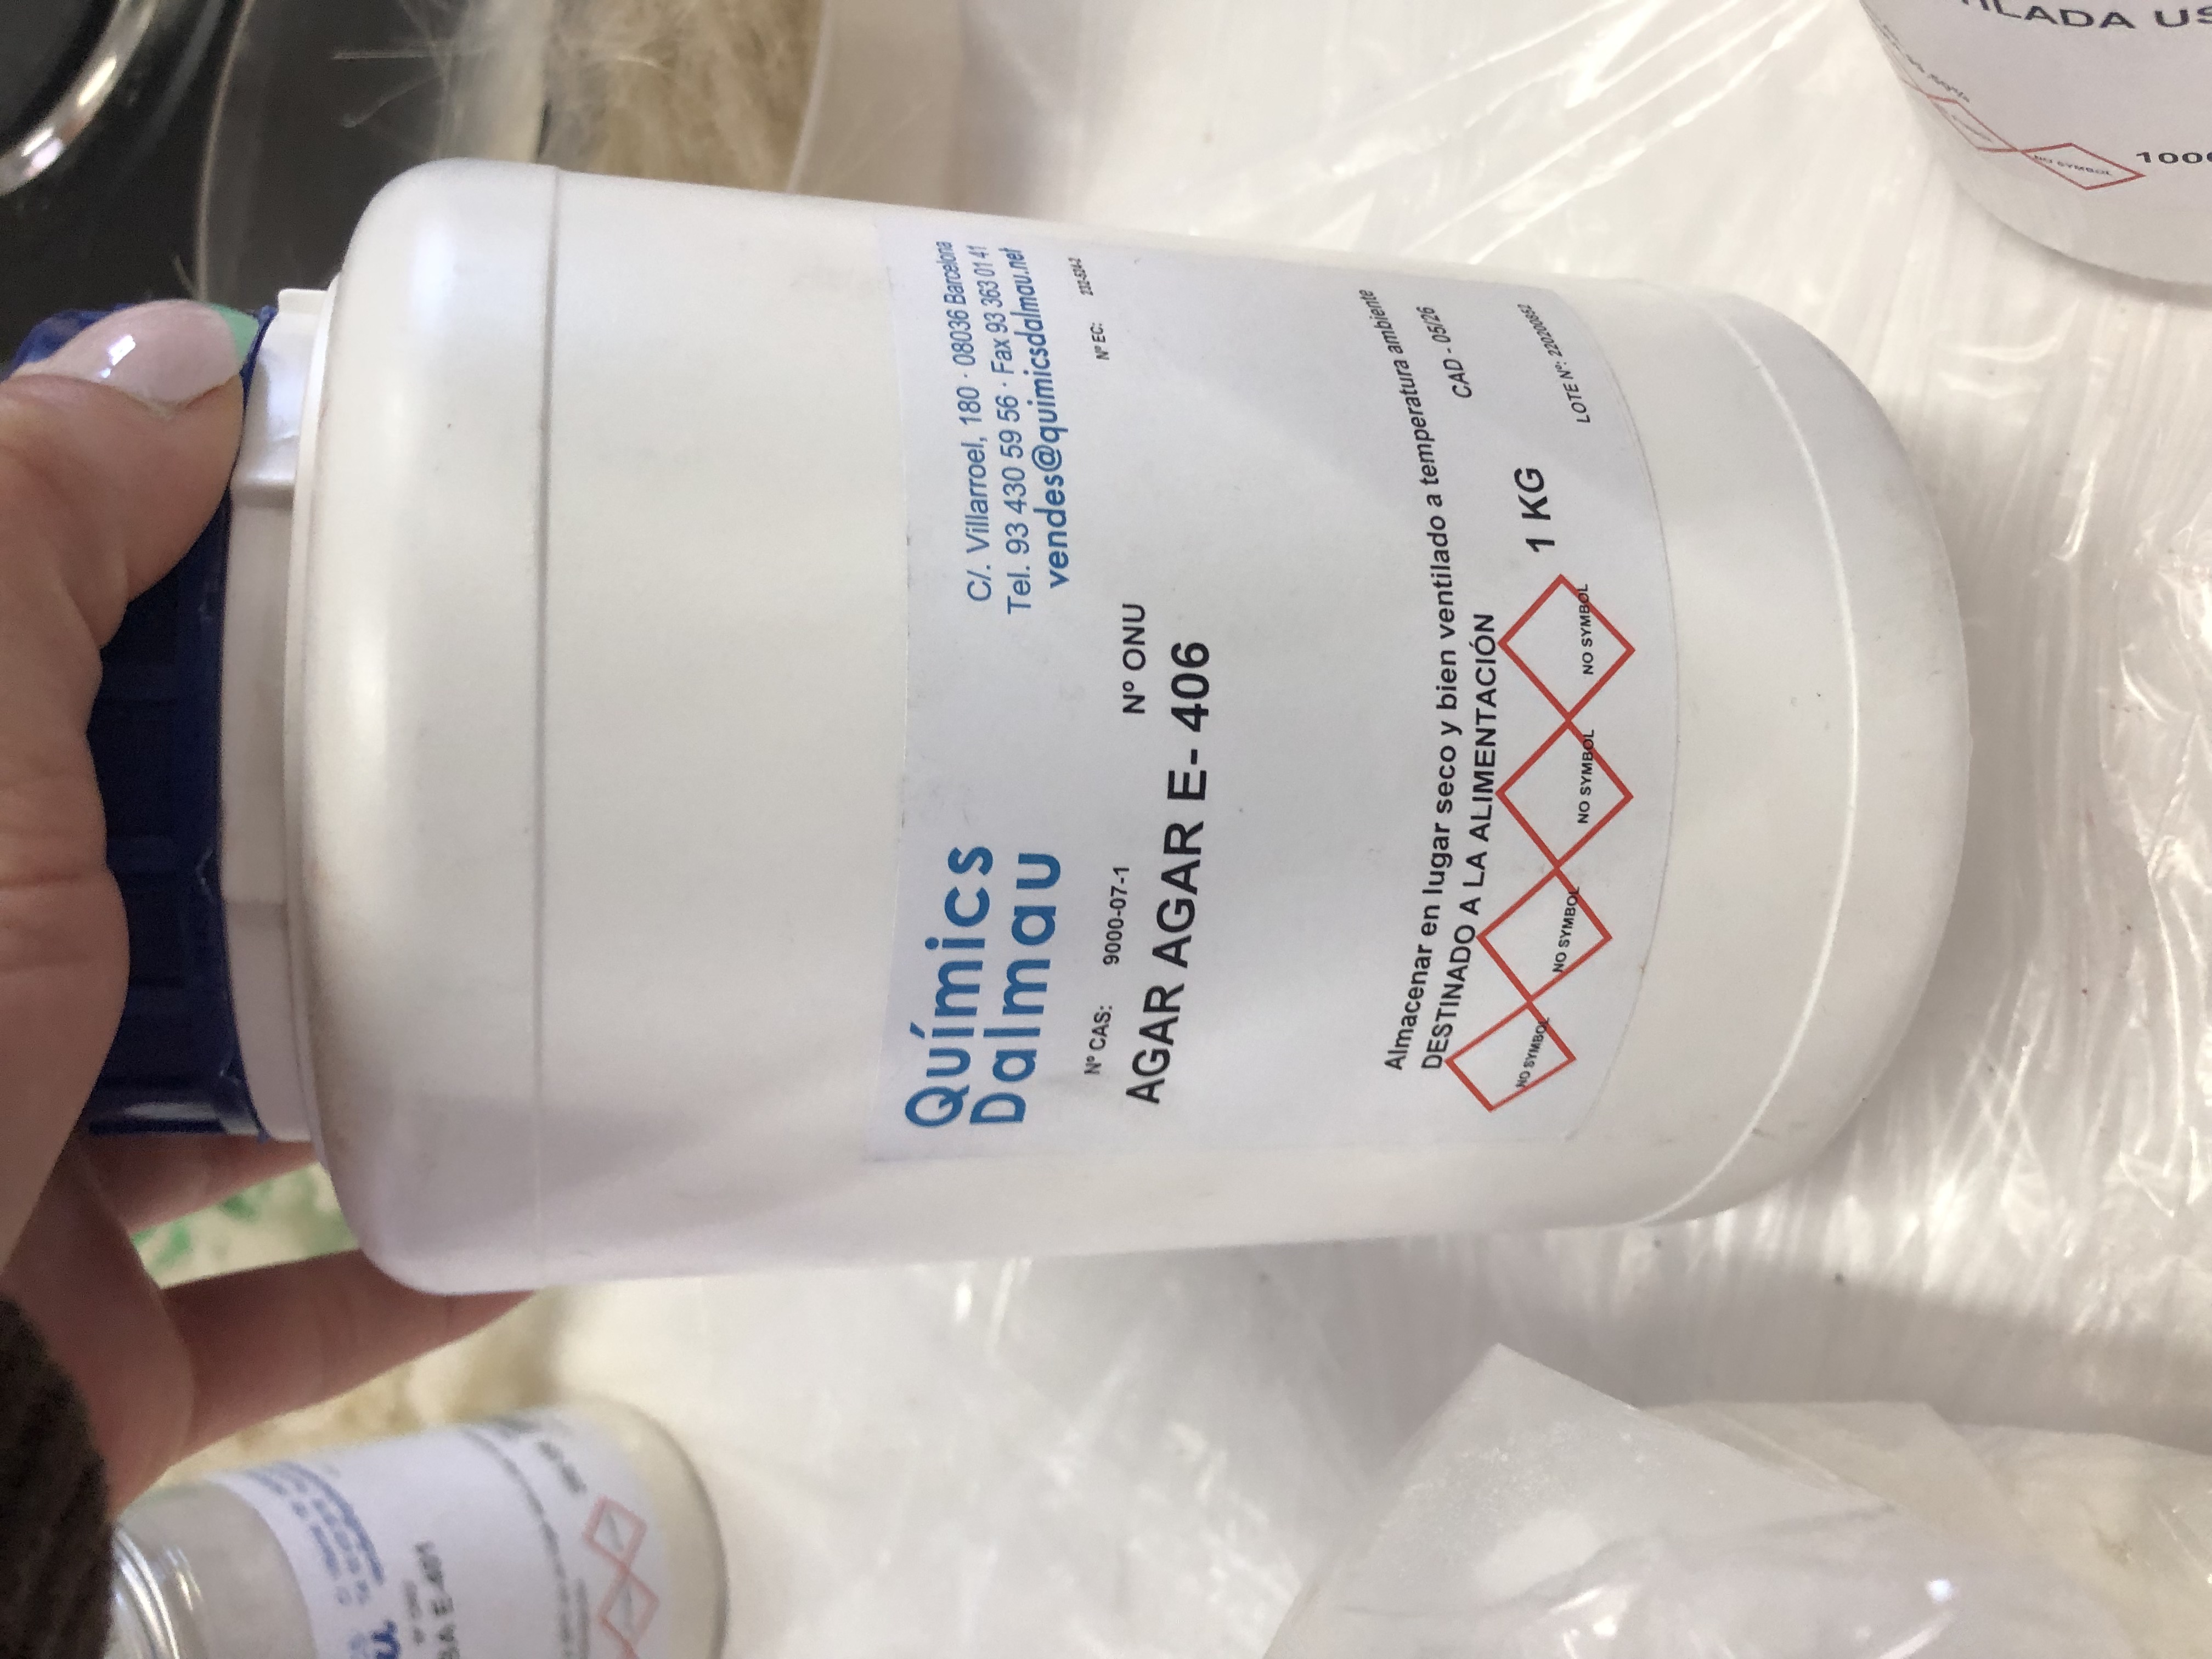
Agar Agar 10g
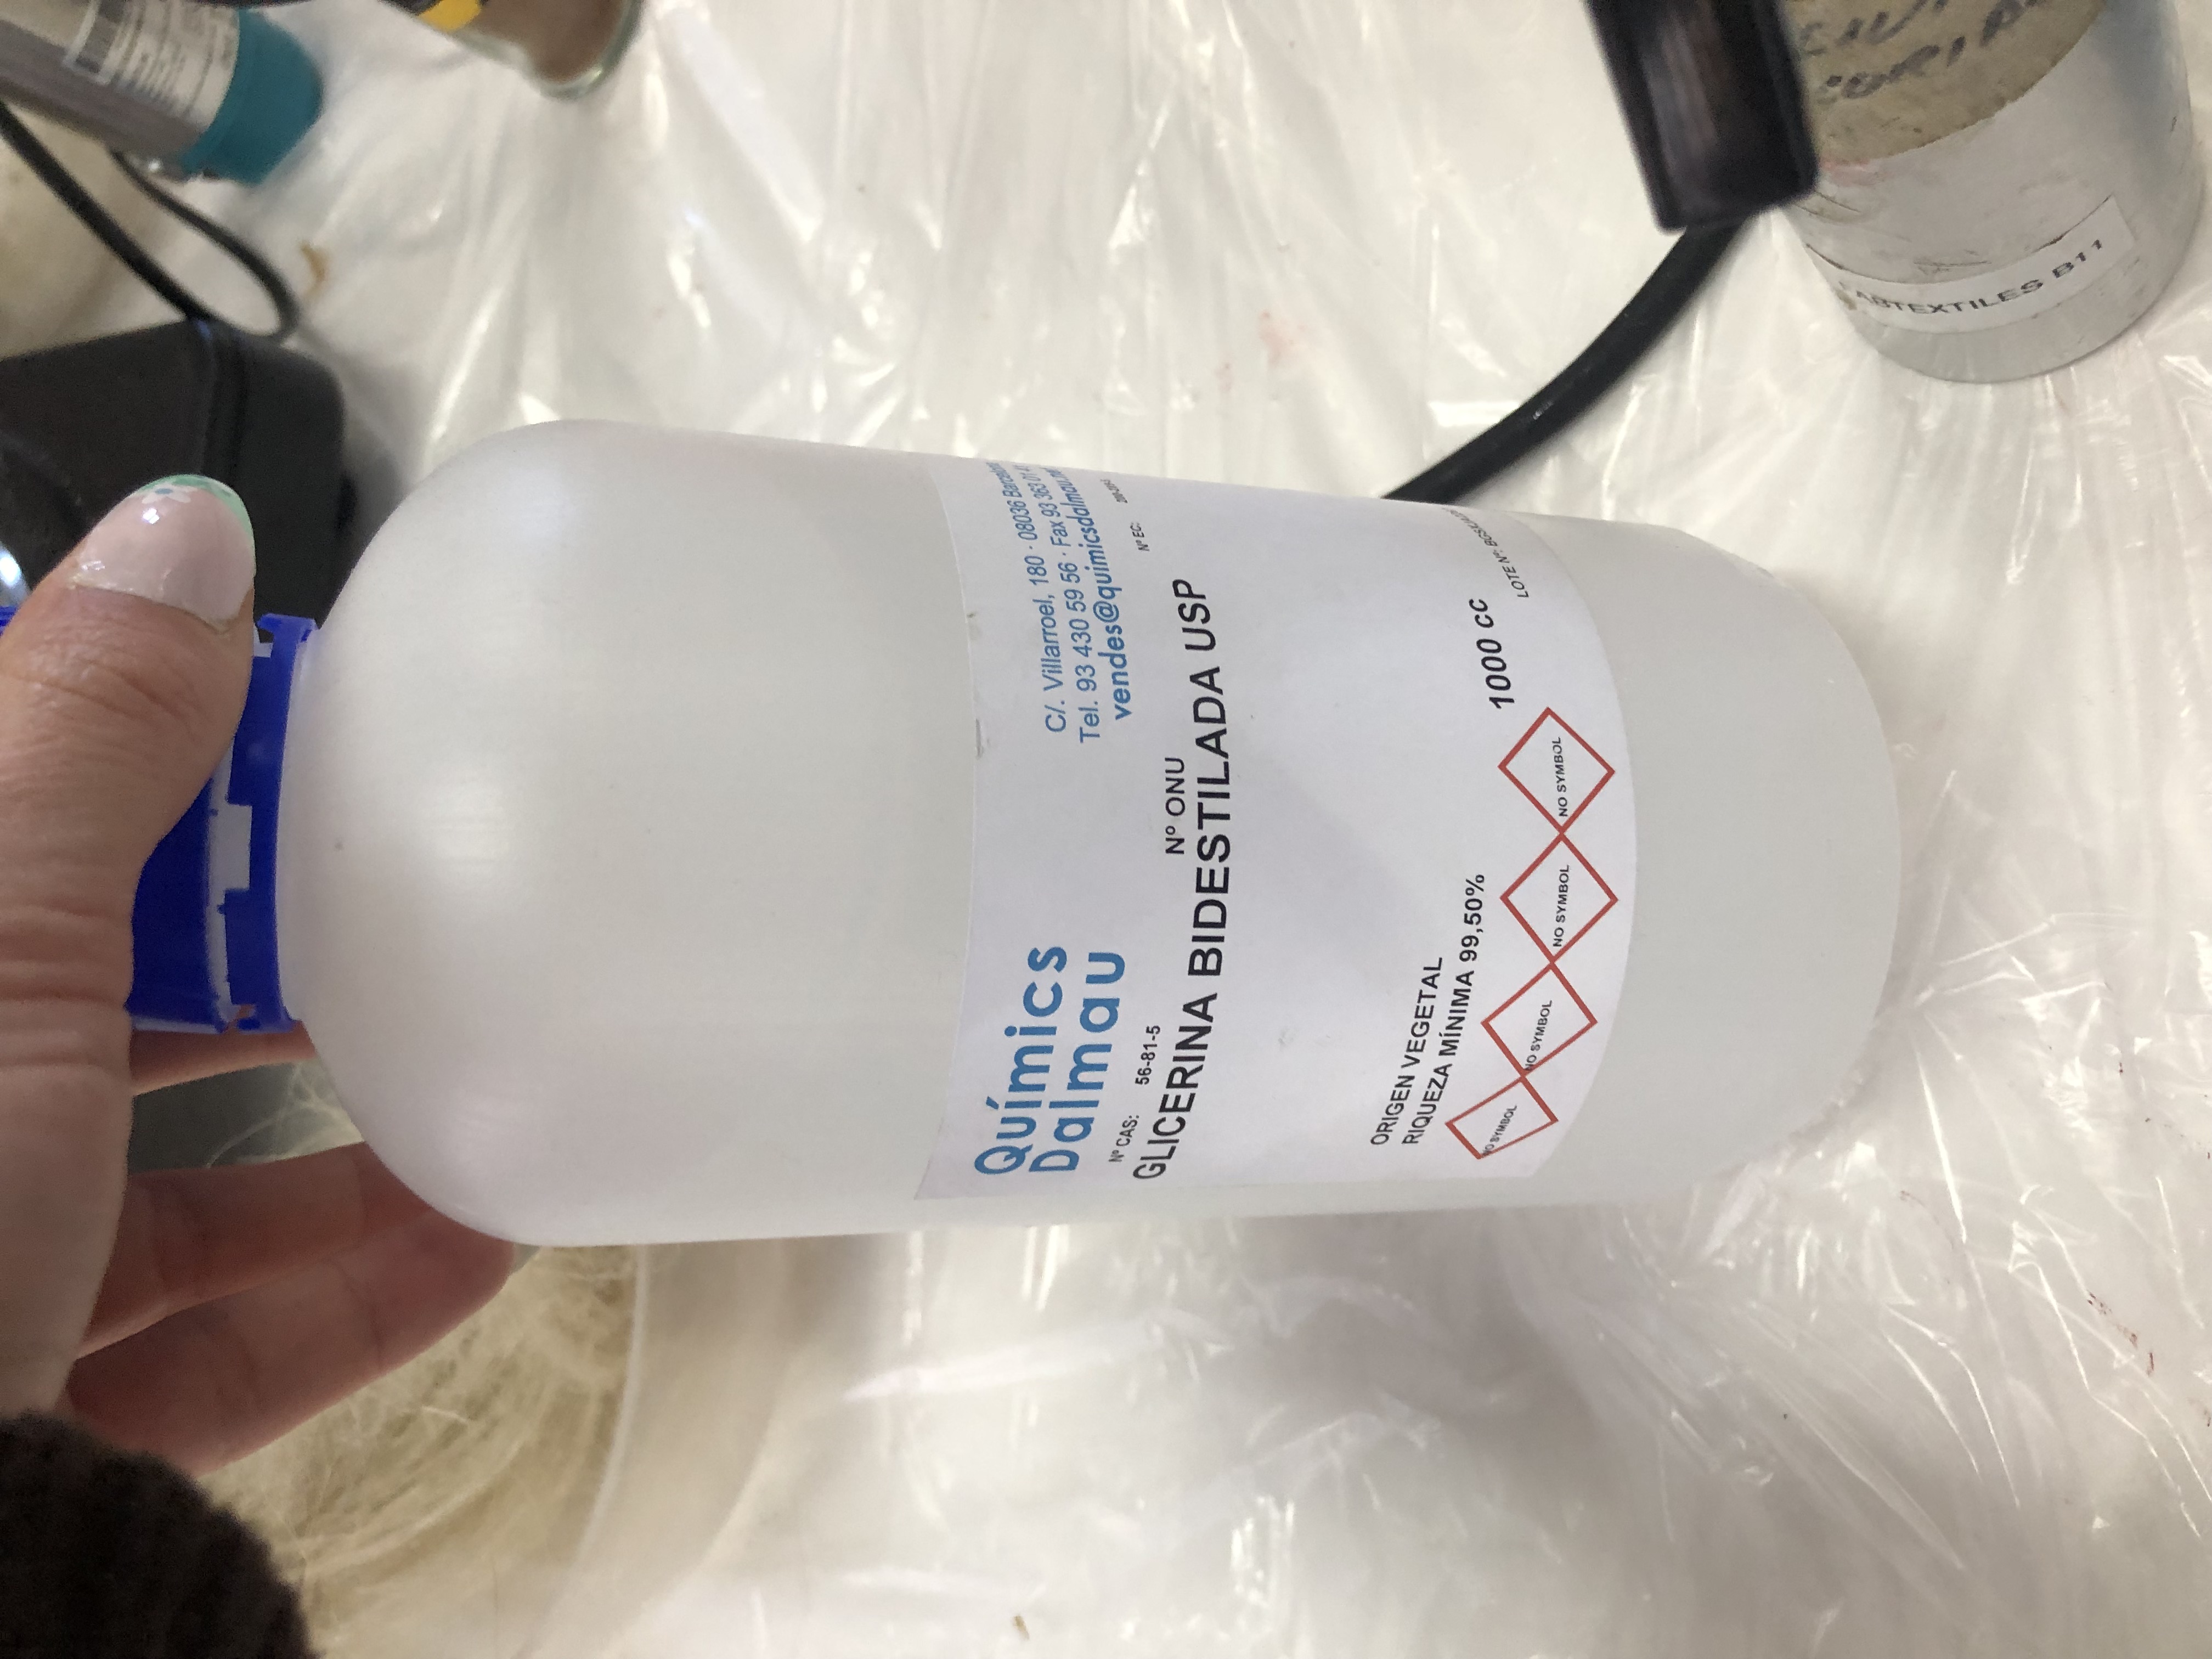
Glycerol 16g
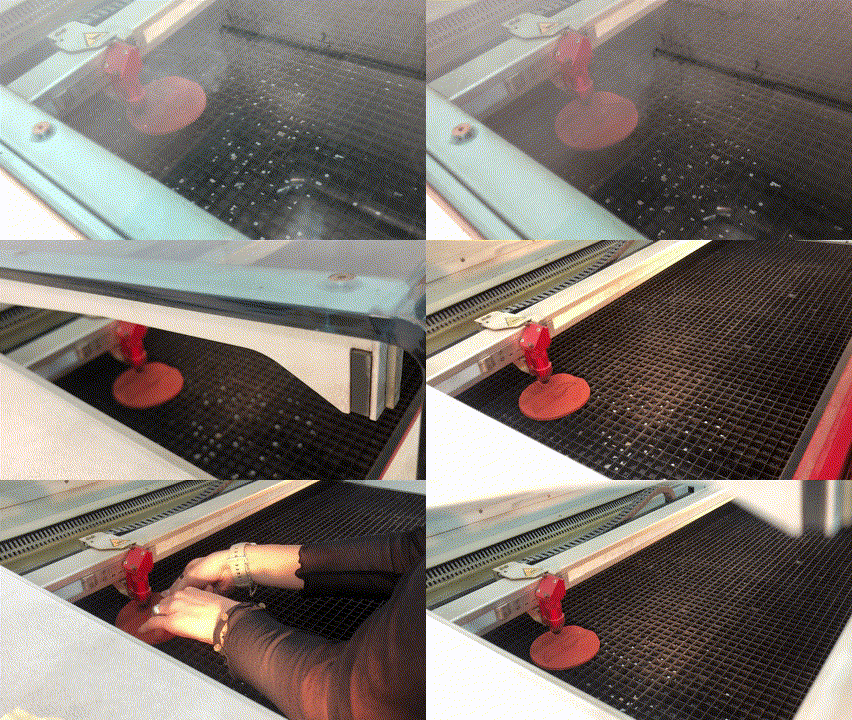
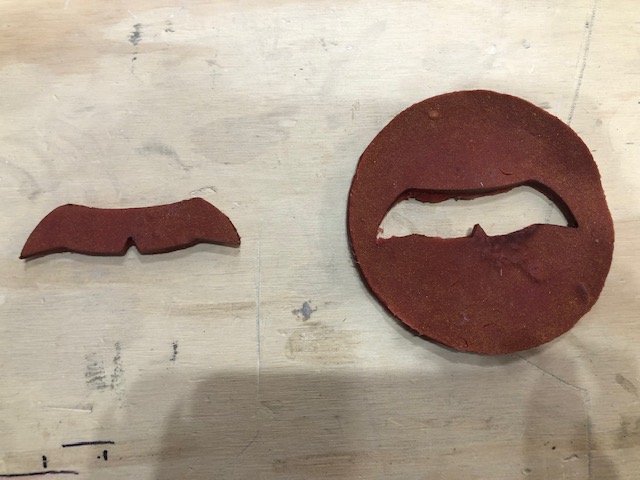
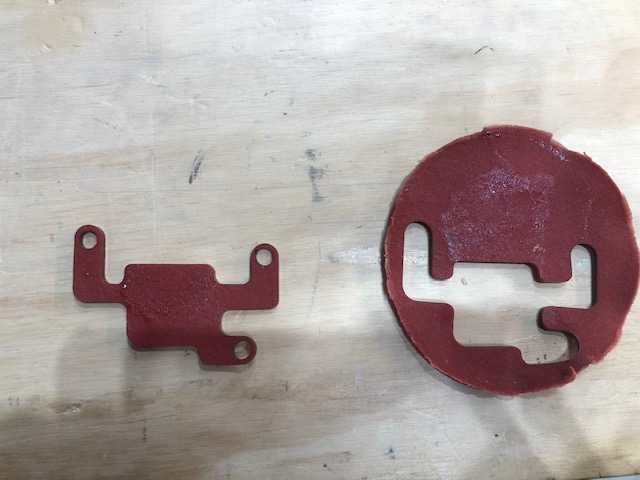
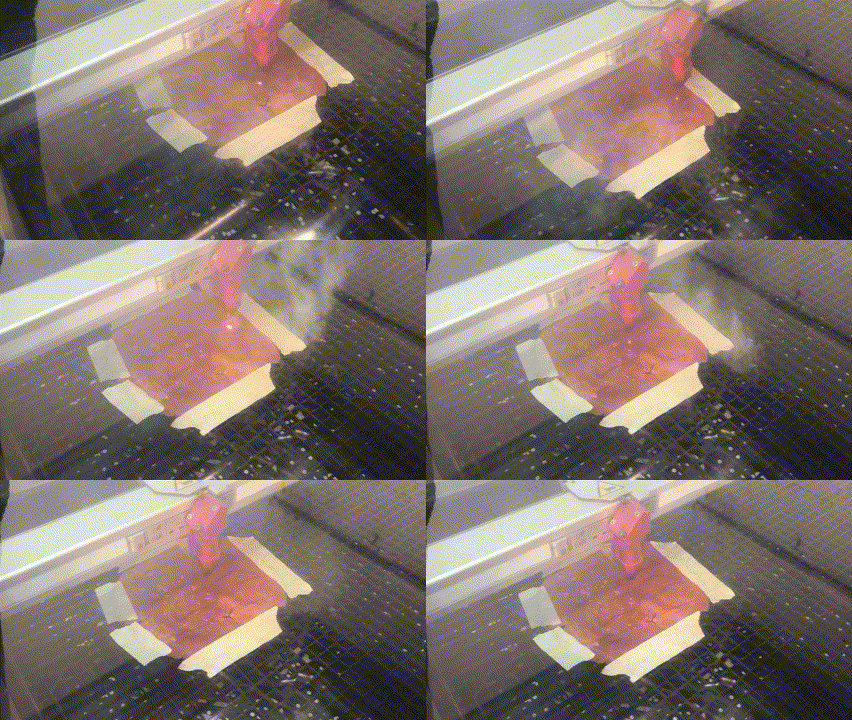
Conclusion - we didn't let the solution heat up enough and therefore had problems solidifying, was laser cut with a pressure 3
2. Recipe used for prototyping - second batch without salt
Water 300ml
Agar Agar 10g
Glycerol 16g
Conclusion - shrinking a lot while drying, so it was hard to estimate the final size of the material, was laser cut with a pressure 4
3. Recipe used for prototyping - third batch with salt
Water 300ml
Agar Agar 10g
Glycerol 16g
Salt 10g
Conclusion - shrank and cracked, but was conductible
4. Recipe used for prototyping - third batch with salt
Water 300ml
Agar Agar 10g
Glycerol 16g
Salt 50g
Conclusion - still drying
